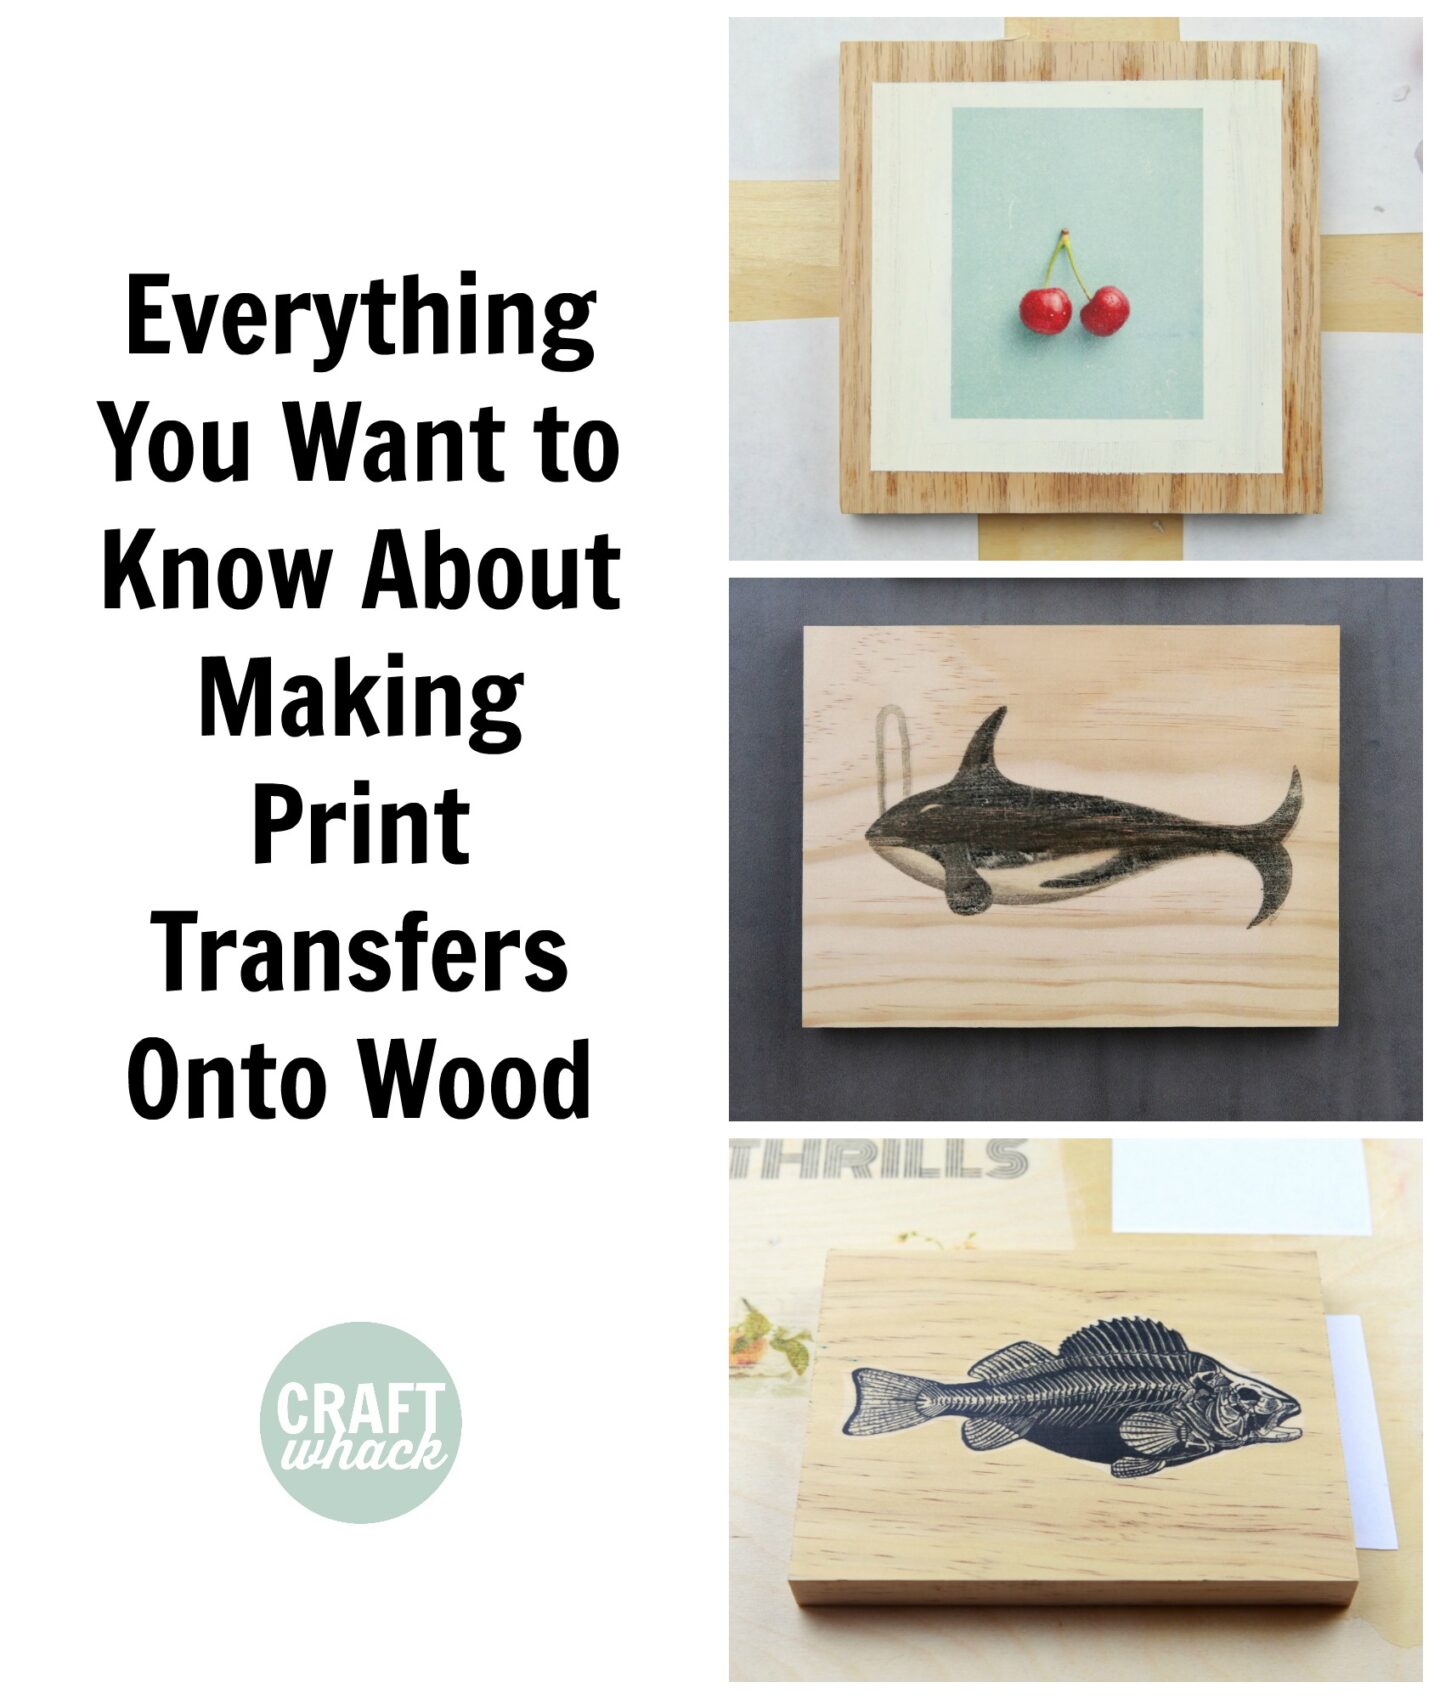
Print Transfer to Wood: 7 Cool Techniques Explored
Nosotros're going into the world of image transfer onto wood, and we're going in deep, So grab your scuba gear.
Whether you want to transfer a photograph impress to forest, or yous accept a cool graphic image/words you need to transfer, in that location are several highly satisfying ways to do this. Seriously, it'southward and then fun to peel back that slice of newspaper and encounter your image beautifully transferred over to whatsoever wood yous're using.
I experimented with epitome transfer on woods using wax paper, freezer paper, gesso, t-shirt iron on paper, paint, Acetone, blender pen, and acrylic gel medium. Here are my extremely non-scientific results.
Table of Contents: Click on a link to be transported direct to that section.
- Wax Paper and Freezer Paper Wood Transfer
- T-shirt Transfer Paper on Wood
- Modern Podge and Acrylic Gel Medium Transfer to Wood
- Blender Marking Transfer to Woods
- Acetone Transfer to Woods
- Citrasolv Impress Transfer to Wood
- Prototype Transfer to Painted Wood
Important Reminders:
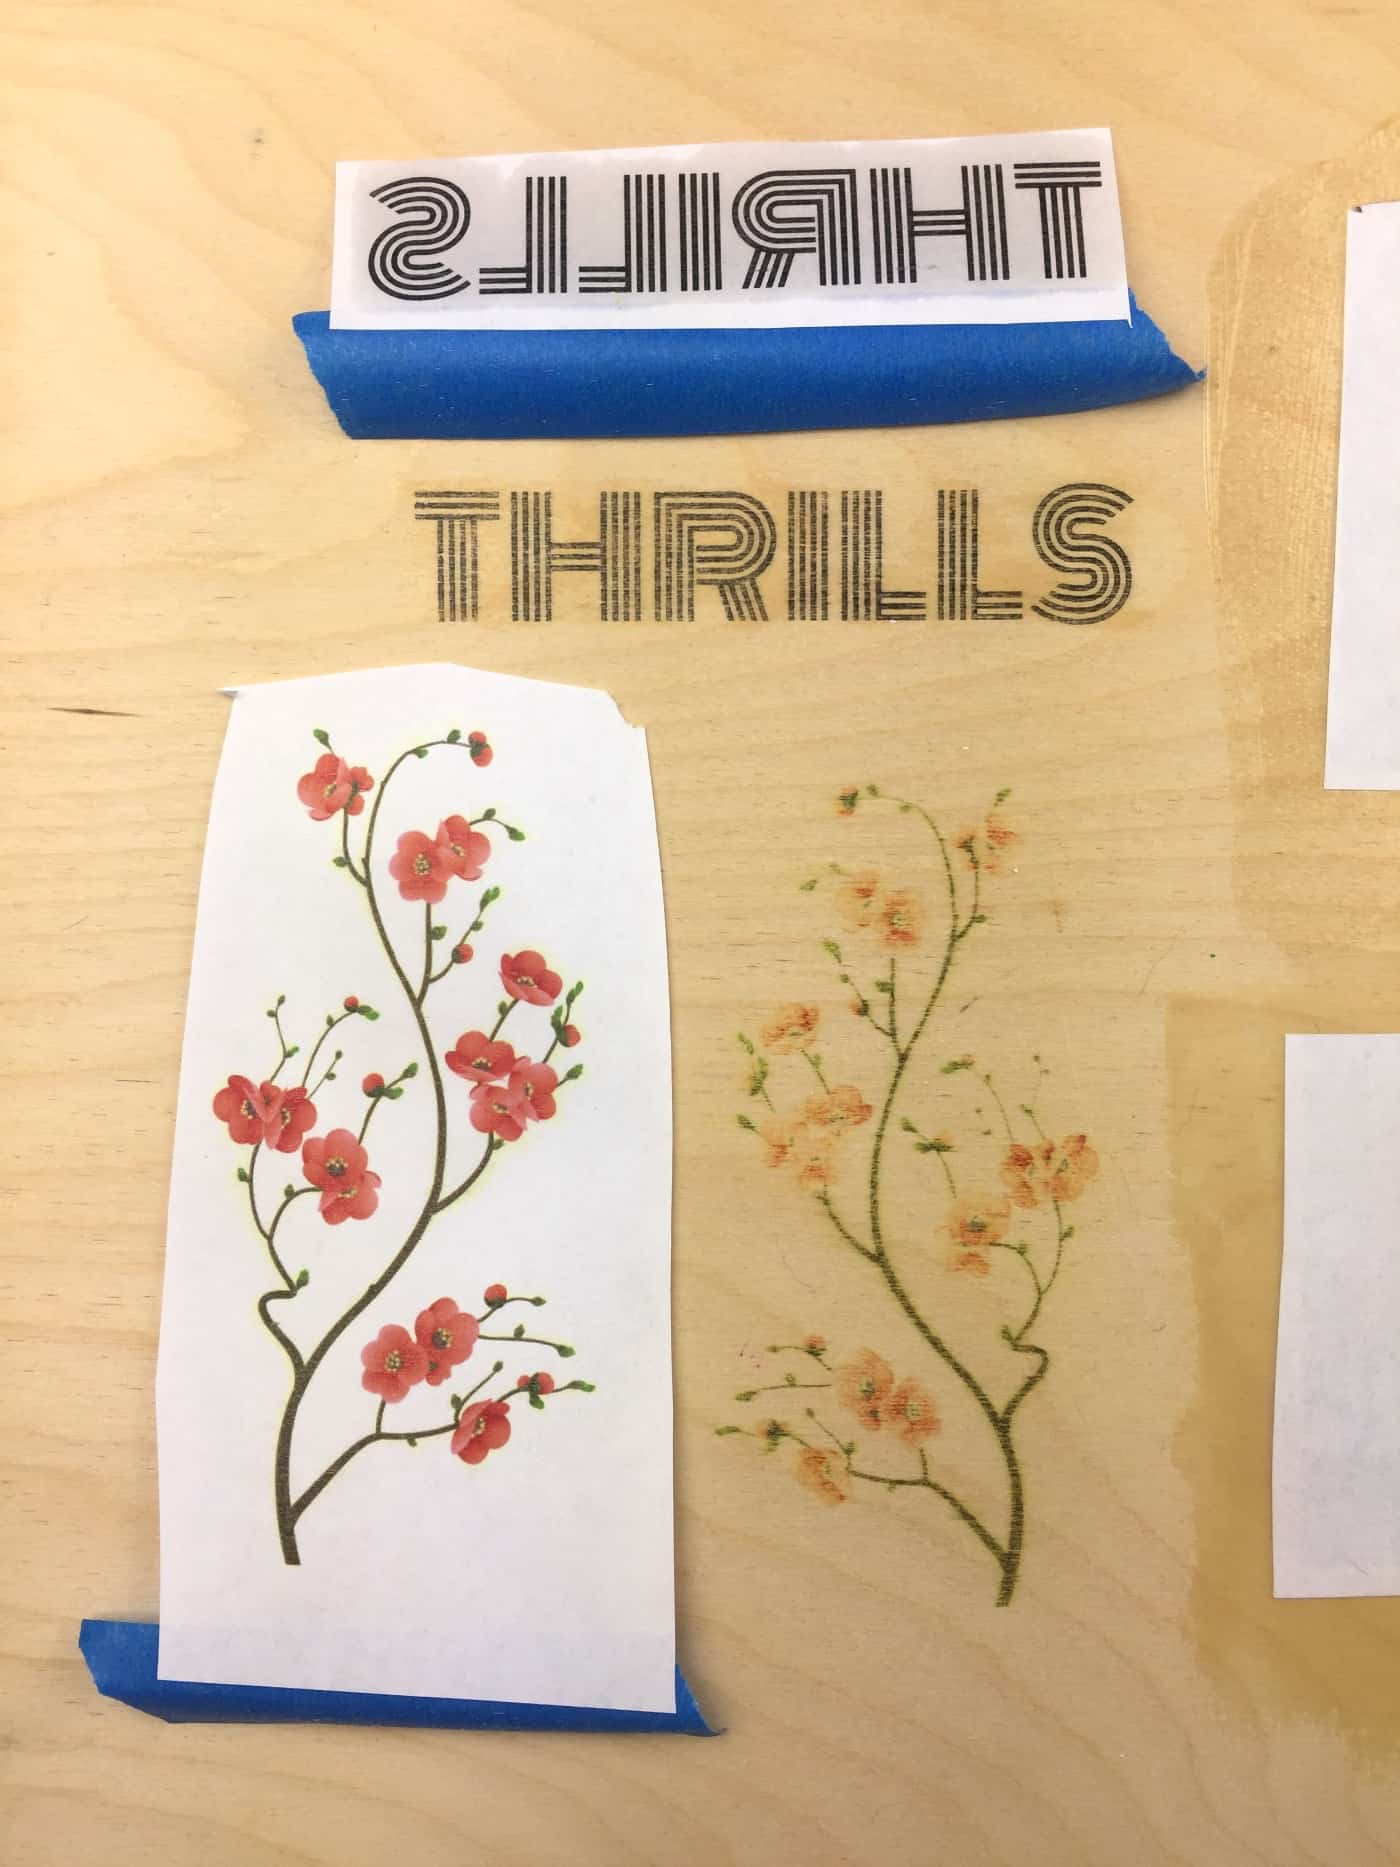
Print a mirror paradigm out of your photo (peculiarly if y'all're printing words or a confront) and so it isn't backwards once you transfer it.
Your wood surface needs to be equally smooth as you can make it for the most successful print results. Fine grit sandpaper is your friend here.
When cutting your images out of the paper, leave a little white edge around them to requite your fingers a place to hold the paper downwards, and likewise and so you don't have to worry almost cutting the edge of the paradigm perfectly direct.
If you're transferring right to the wood, as with the wax and freezer paper and blender marker methods, you can use more force with the burnisher. When yous're using the gel medium/gesso/paint techniques, merely press down hard enough to flatten the paradigm into the goop and go as many air bubbling out of the paper as yous can.
Inkjet Print Transfer With Wax Newspaper and Freezer Paper
You lot can utilize wax newspaper and freezer paper to transfer your prints onto woods, and I did some experimenting to see which worked amend.
The reason this works is that the waxy finish on these papers keeps the ink from soaking into the paper, so information technology transfers over to your wood easily. You tin feed the papers correct through your inkjet printer, simply there are a few little tips to follow.
Supplies:
- Inkjet printer
- Wax paper
- Freezer paper
- Credit carte du jour or plastic scraper – something like that to burnish the prints
- Woods surfaces: painting panels, cut forest pieces, anything smooth and unfinished
- Articulate spray fixative if you want to seal your impress
Here are my printing results with wax paper vs. Freezer paper:
Impress Transfer With Wax Paper
I cut several pieces of wax paper simultaneously: y'all tape a piece of letter-sized printer paper over a long piece of wax paper folded over on itself a few times. Use a big metal ruler (these are indispensable for and then many projects) and a craft knife to cutting effectually the printer paper.
I put a piece of wax paper in my printer tray and printed straight on that. I just had the occasional newspaper jam. 🙂
Remove the impress from the printer carefully, without touching the ink! Information technology will smudge so easily since information technology's by and large sitting on the surface of the wax.
Print Transfer With Freezer Newspaper
When printing on freezer paper, I found that even though information technology'due south thicker than wax paper, I needed to record information technology to a piece of printer paper before loading it into the paper tray. Otherwise, it was jam-city.
Use double-stick record and attach the freezer paper to the printer paper shiny side out. Later it prints, be super careful to not touch the ink, and yous can cut around your impress with pair of scissors or gently detach the printer paper from the freezer paper. Be patient so yous don't smudge the ink! The newspaper likes to scroll back on itself and be a general nuisance.
Transferring the Epitome From Wax Paper or Freezer Paper
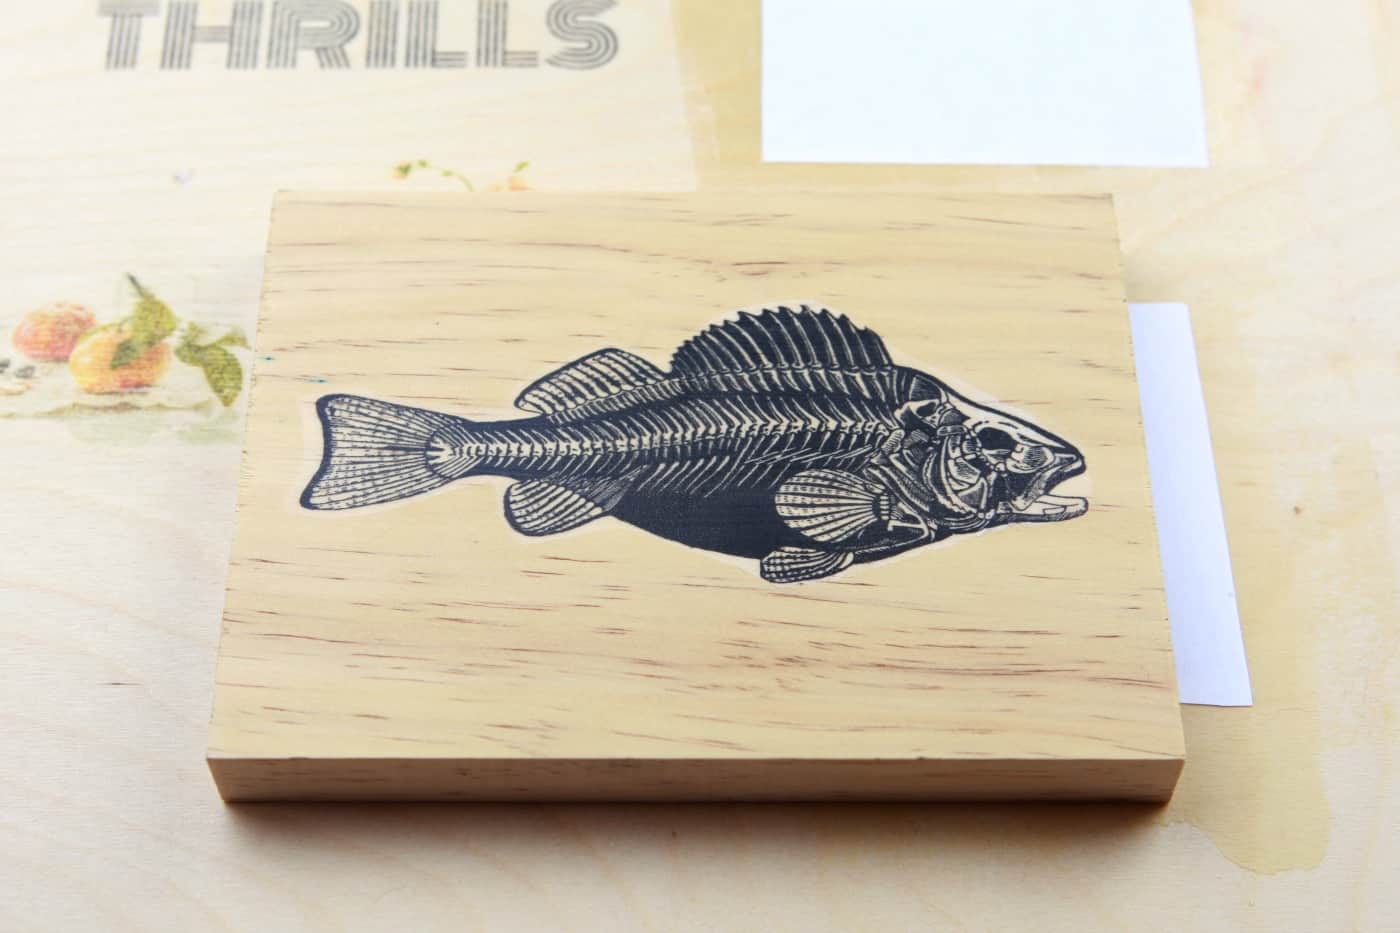
The process is the same at this point for both wax and freezer newspaper. Flip your image over slooooowly, advisedly onto the wood surface. It helps to concur your breath and sweat a lot while y'all're doing this.
Once you take your paradigm positioned where y'all want it on the wood, hold it in place firmly (or tape it), and use the edge of a plastic scraper or credit carte du jour to burnish the image onto the wood.
Here's where experimentation earlier making the finished piece actually comes in handy. The image volition want to slide effectually on the wood surface due to its waxy coating and all, so y'all need to concord that affair down. You'll be able to encounter through the newspaper (more easily through the wax newspaper). If your prototype looks like it has shifted, reposition it every bit best you can.
Overly-aggressive burnishing tin cause the newspaper to rip, so you volition want to find a balance between burnishing like you mean it and anger burnishing.
Peel your newspaper back in areas while holding the residuum of it in place to encounter if your image looks good.
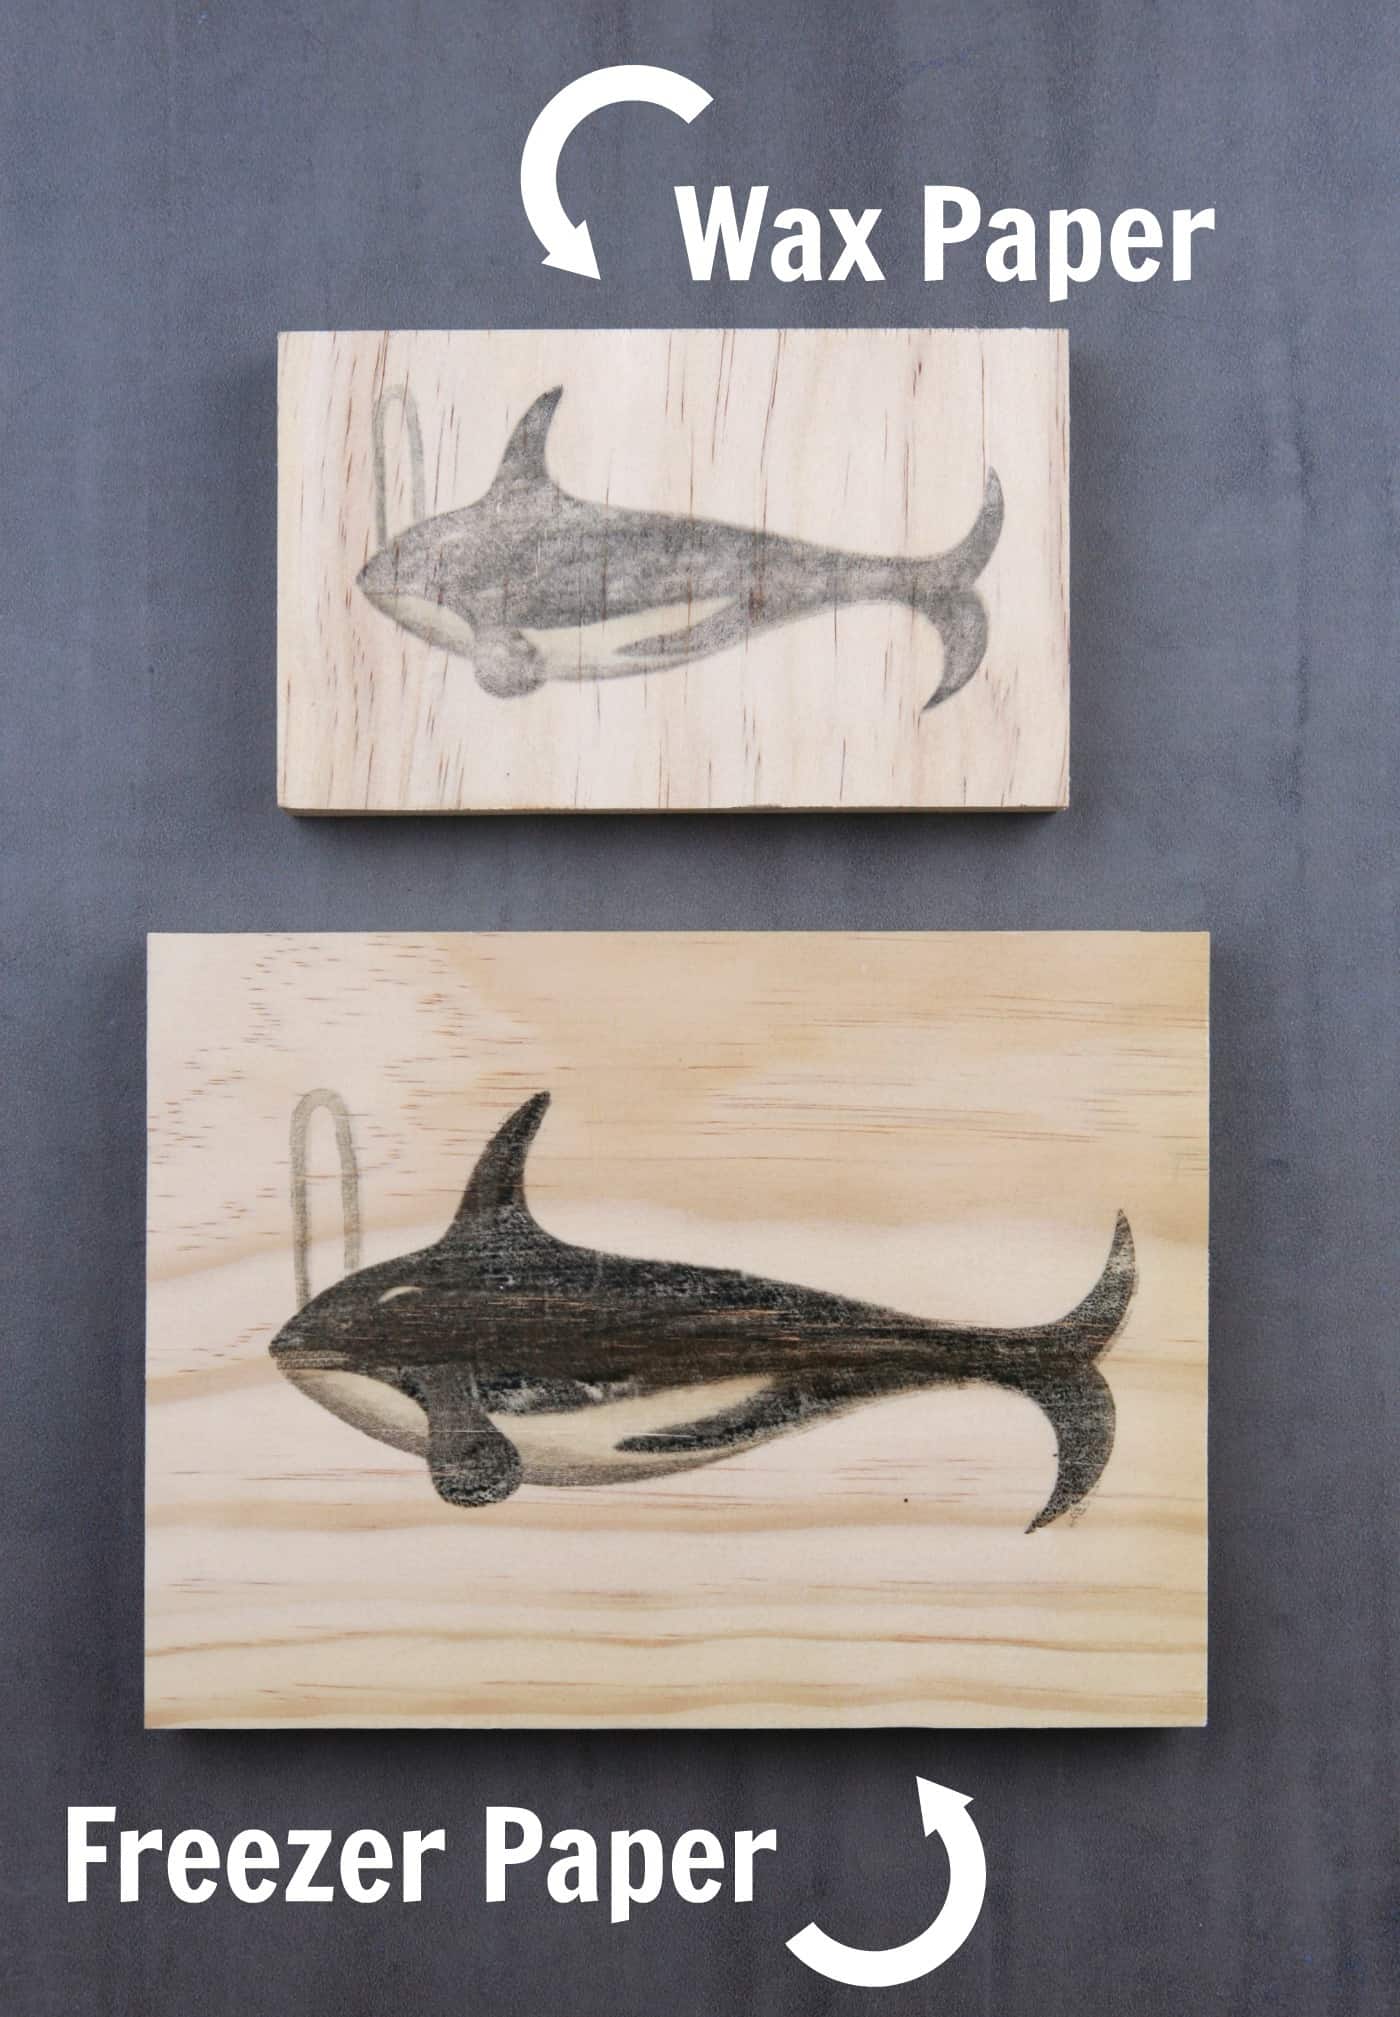
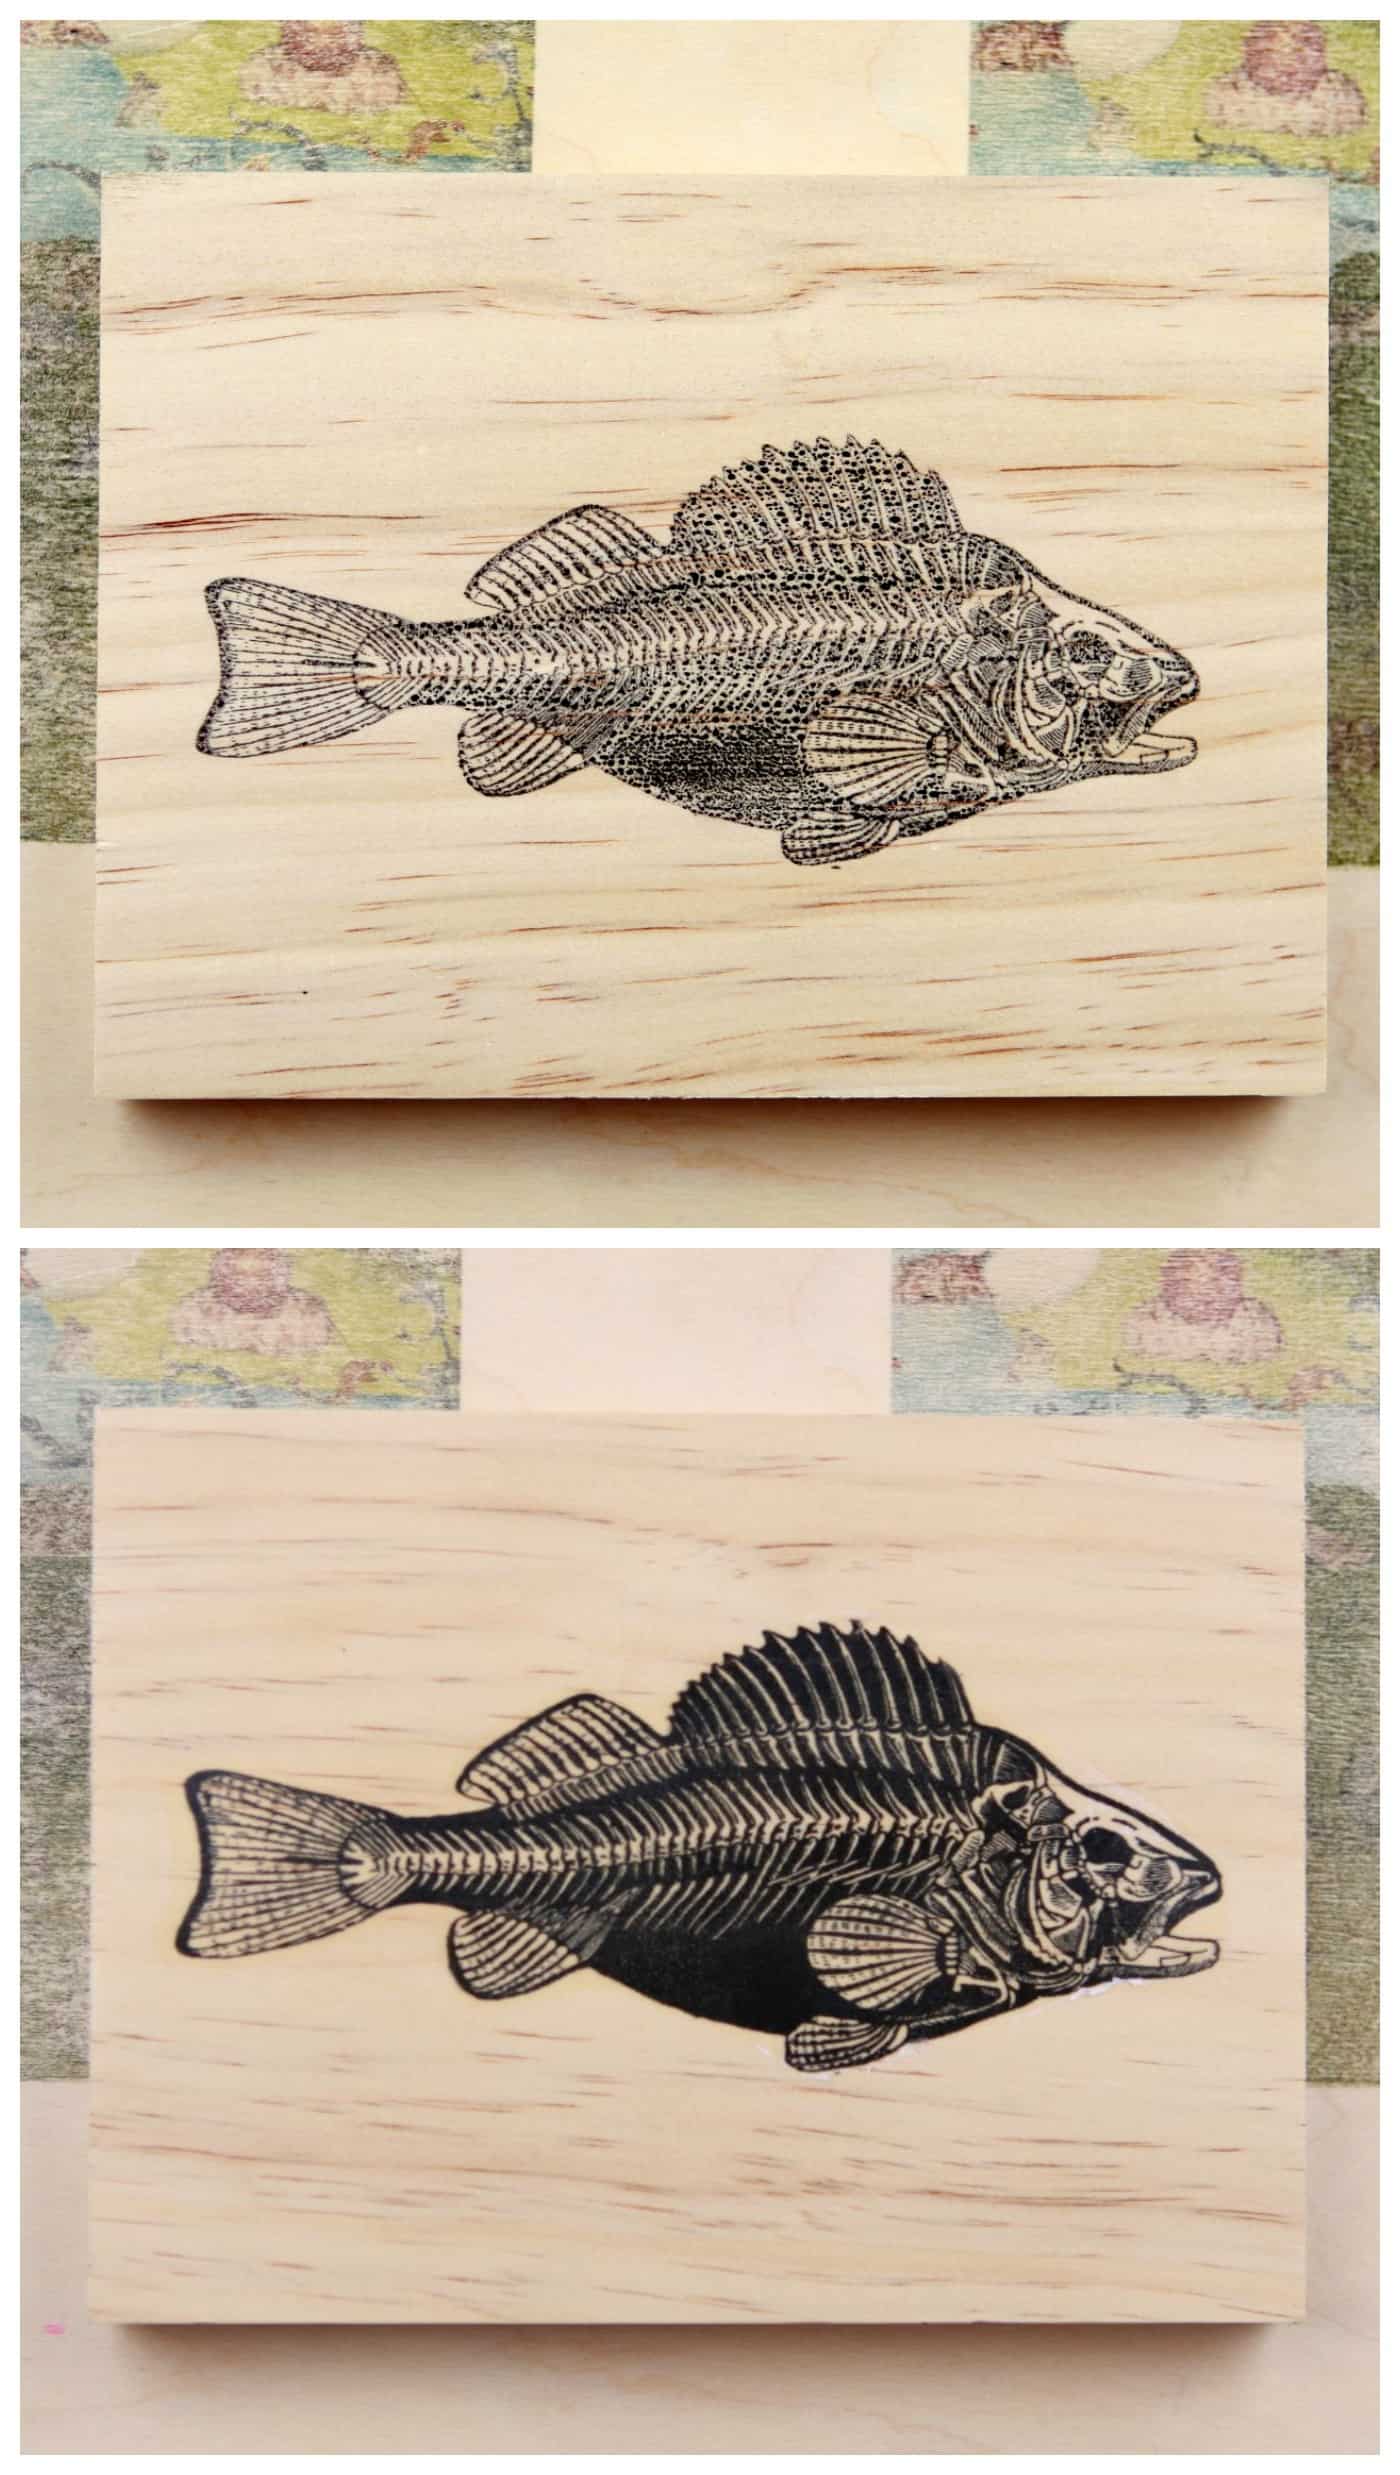
I institute that the freezer paper images tended to look a little more saturated and complete on the forest than the wax paper, so I prefer the freezer paper. Only! Think about the end result you are going for: mayhap you want more of a weathered or vintage look to your print transfer, in which case you lot might prefer wax newspaper.
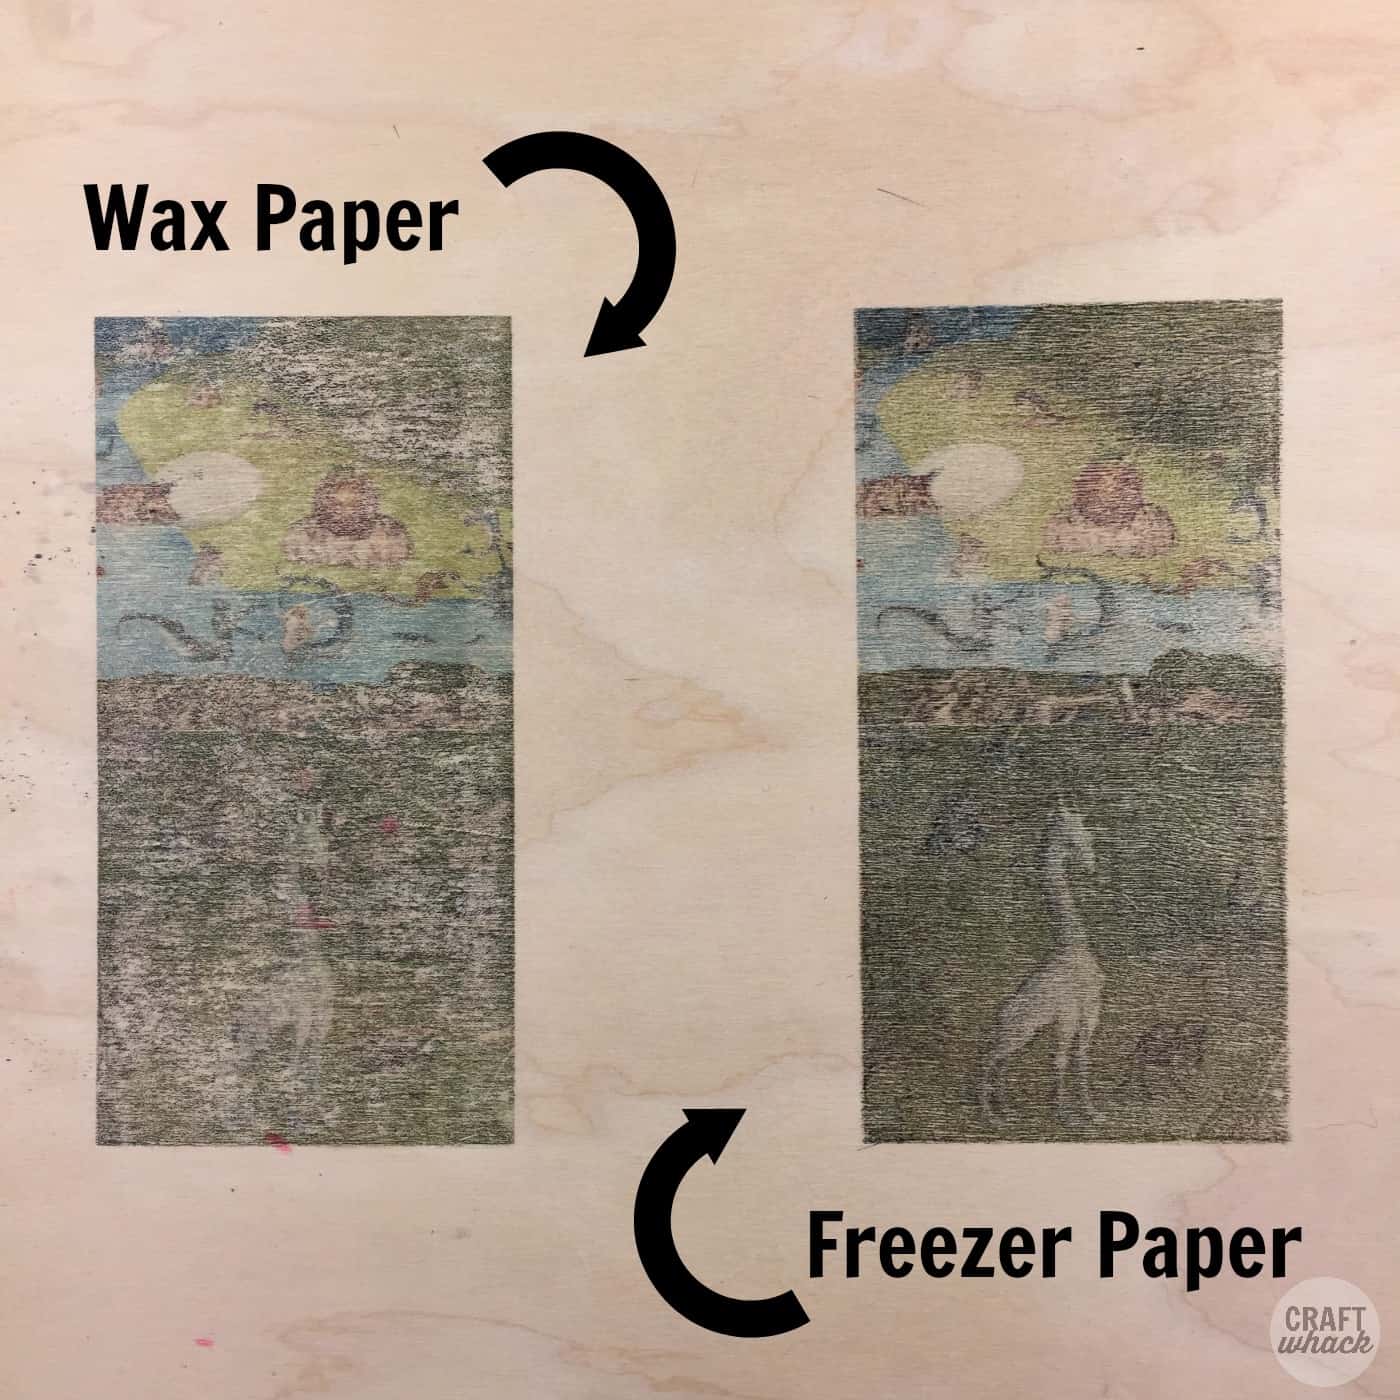
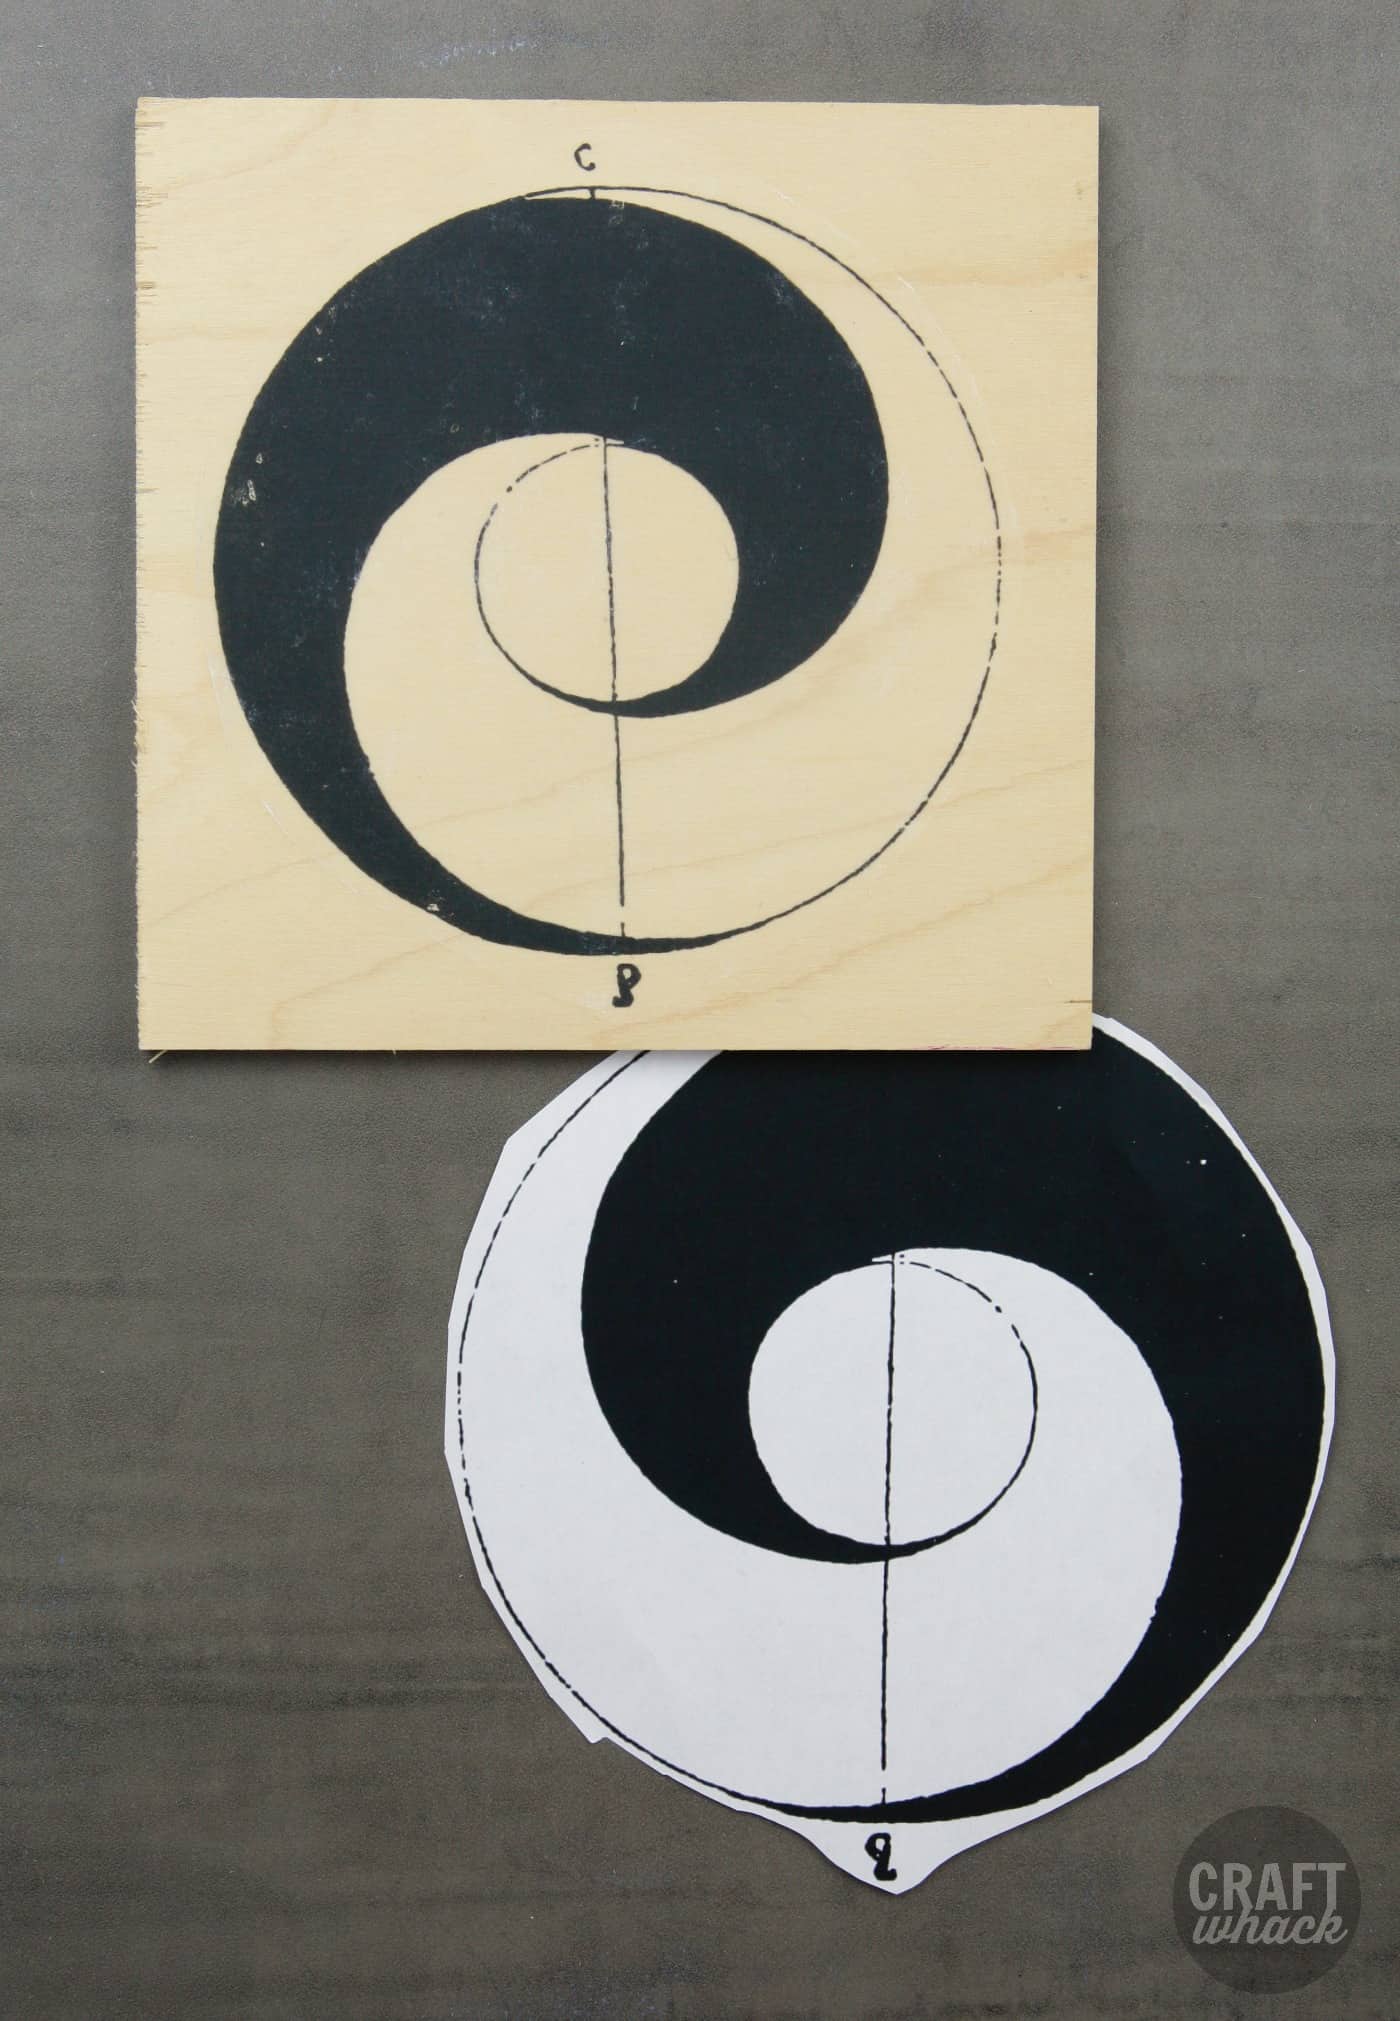
This one I tried with color prints of areas from Hieronymus Bosch's The Garden of Earthly Delights. The surface is a big piece of birch plywood.
An culling to wax and freezer paper, the waxy backing to sticker or label printer papers work for this procedure. I guess I wouldn't buy these papers just to use for epitome transfer, simply if you accept some around, you may want to become this route.
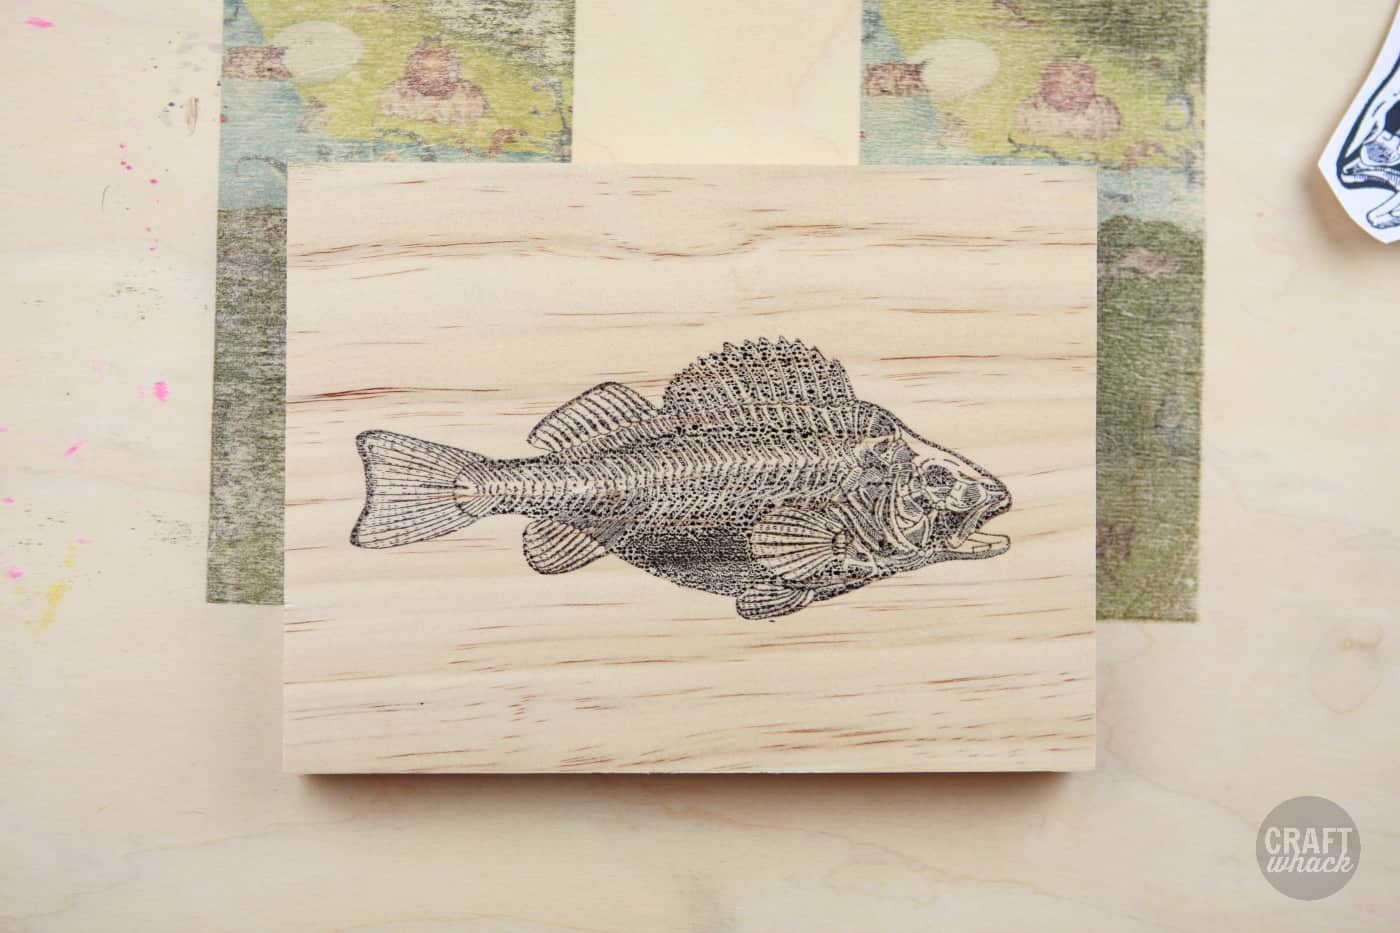
Spray a articulate finish coating over the top of these prints to protect them and to requite the wood and impress more than visual depth.
Wax Newspaper and Freezer Newspaper Pros and Cons
Pros: You lot can apply inkjet prints, y'all probably already accept wax or freezer paper at home, they're fast and unmessy.
Cons: Sometimes the paper gets jammed in the printer, the print can look a little 'rustic' if you're expecting a pristine print.
Inkjet Transfer Using T-Shirt Transfer Newspaper
You tin transfer an inkjet print to wood using t-shirt transfer paper, and it works beautifully!
Supplies:
- Inkjet printer
- T-shirt transfer paper – I used Upwards & Upwardly t-shirt transfer paper from Target, but I'm pretty sure they're all similar enough to get the aforementioned results…
- Iron
- Sparse cloth or pillowcase
- Clean, shine, unfinished wood surface
This method is easier than the 2 previous techniques because you lot just demand to print your image onto the newspaper and iron it onto your woods surface. The results are pretty crawly with this; you get a dainty clean, saturated print.
Again, if y'all are going for a more rustic await, you lot may want to stick with waxy papers.
Technique:
- Print your (mirror-reversed) image onto the t-shirt transfer paper in your inkjet printer.
- Let the print sit down for most v minutes.
- Place it face down onto your woods surface and encompass the back with a thin textile or pillowcase.
- With your iron fix to the highest cotton fiber setting, and NO STEAM, press down firmly onto a department at a time of your print. I kept the atomic number 26 downward on each department for almost 15 seconds. Maybe motility it if y'all start to scent information technology burning. 🙂
- Let the whole matter cool for a few minutes.
- Peek nether the newspaper in areas to see if the epitome has transferred, and brand sure you cover the whole epitome with the fe – you tin potentially rip the image if information technology isn't evenly ironed.
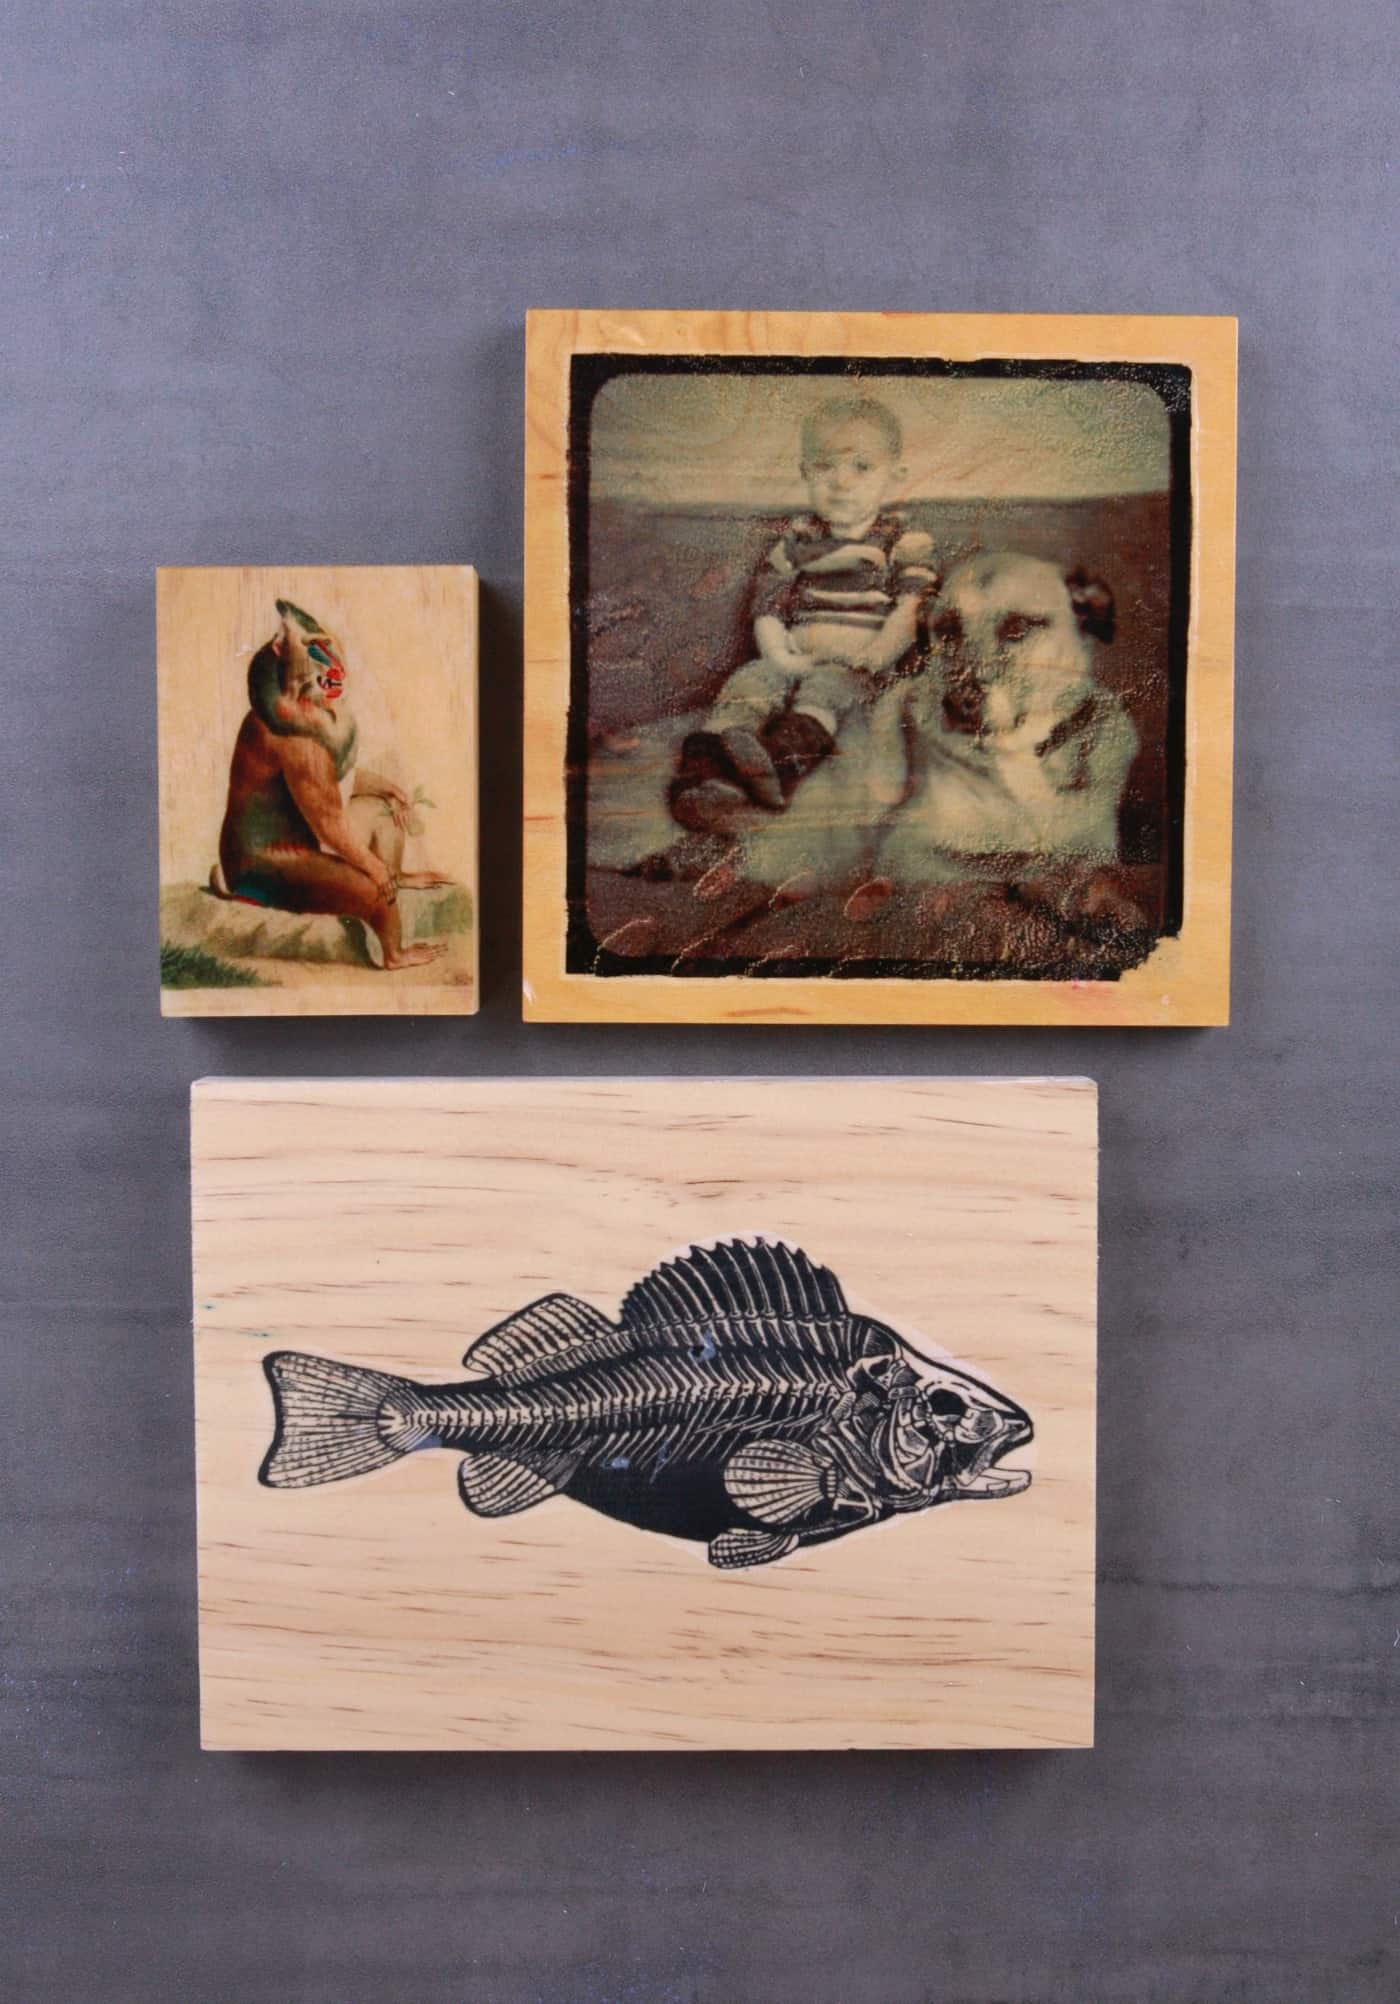
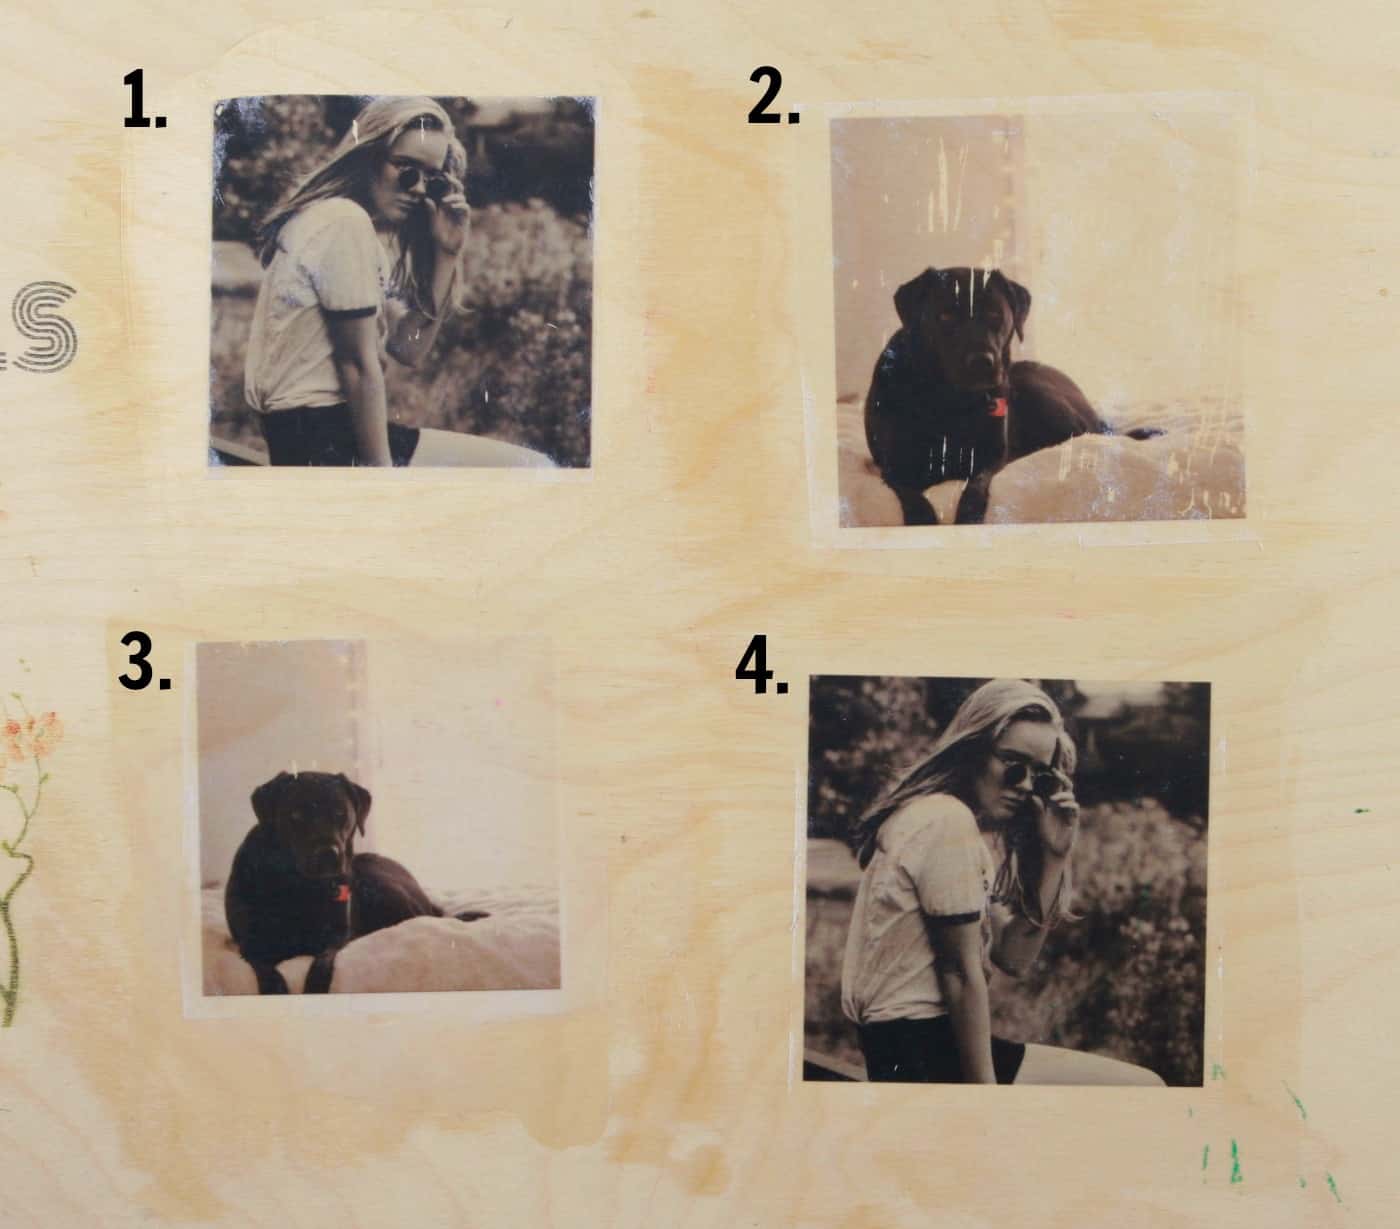
The monkey-type creature was fabricated by my married man a few years ago, and he used a 2-function epoxy over the surface to get that glossy finish. He and so cut the edges of the forest off. Nosotros continue him in a little nook in our kitchen and he chats with me equally I make dinner.
The pic of footling Beckett and our sometime dog Farmer was tweaked in Photoshop to look oldy-fashionedy, then the same epoxy on top.
My daughter and I used this technique for a self-portrait art project a while dorsum, and I can't remember what I did to get in await that weathered. I think we ironed right onto the dorsum of the transfer paper, and for a long time, so the paper sort of buckled up in places.
Inkjet T-Shirt Paper Transfer Pros and Cons
Pros: Prints are beautiful, crisp, and saturated, the procedure is like shooting fish in a barrel and mess-free.
Cons: Sometimes part of the print doesn't want to iron down completely; yous may demand to echo your ironing process a few times if a department doesn't transfer.
Using Mod Podge or Acrylic Gel Medium For An Image Transfer
I learned this technique in higher using acrylic gel medium. Well, actually ii techniques to transfer images using gel medium, and then I'll bear witness you both!
1 is more along the lines of the print transfers I've outlined above, and the other will result in the prototype transferred onto the dried gel medium alone, then you tin apply that layer of plasticky stuff to collage onto your wood, etc.
Supplies
- Acrylic gel medium or Mod Podge
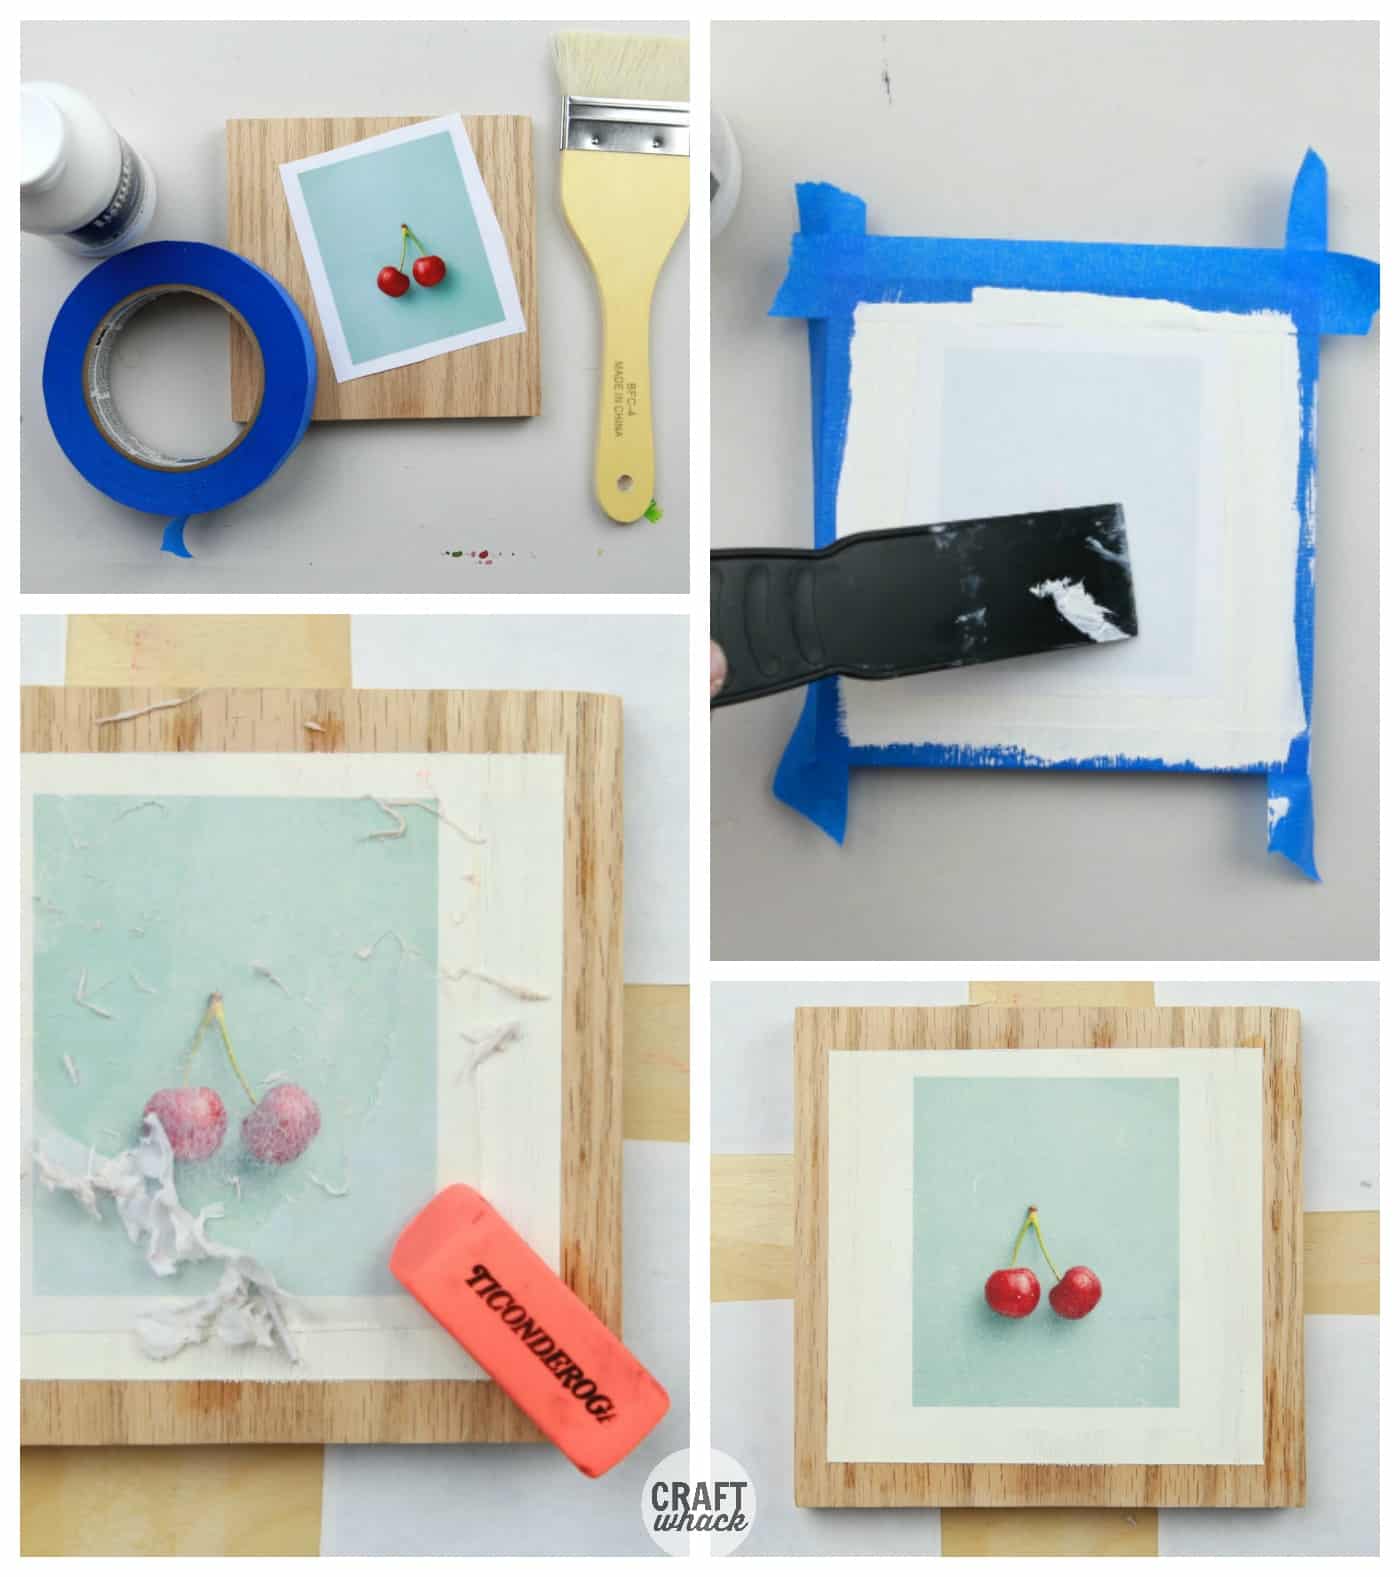
- Laser print on regular printer paper (not photo paper!) Want a larger print? Bring your USB to FedEx and ask for an applied science print.
- Brush
- Eraser
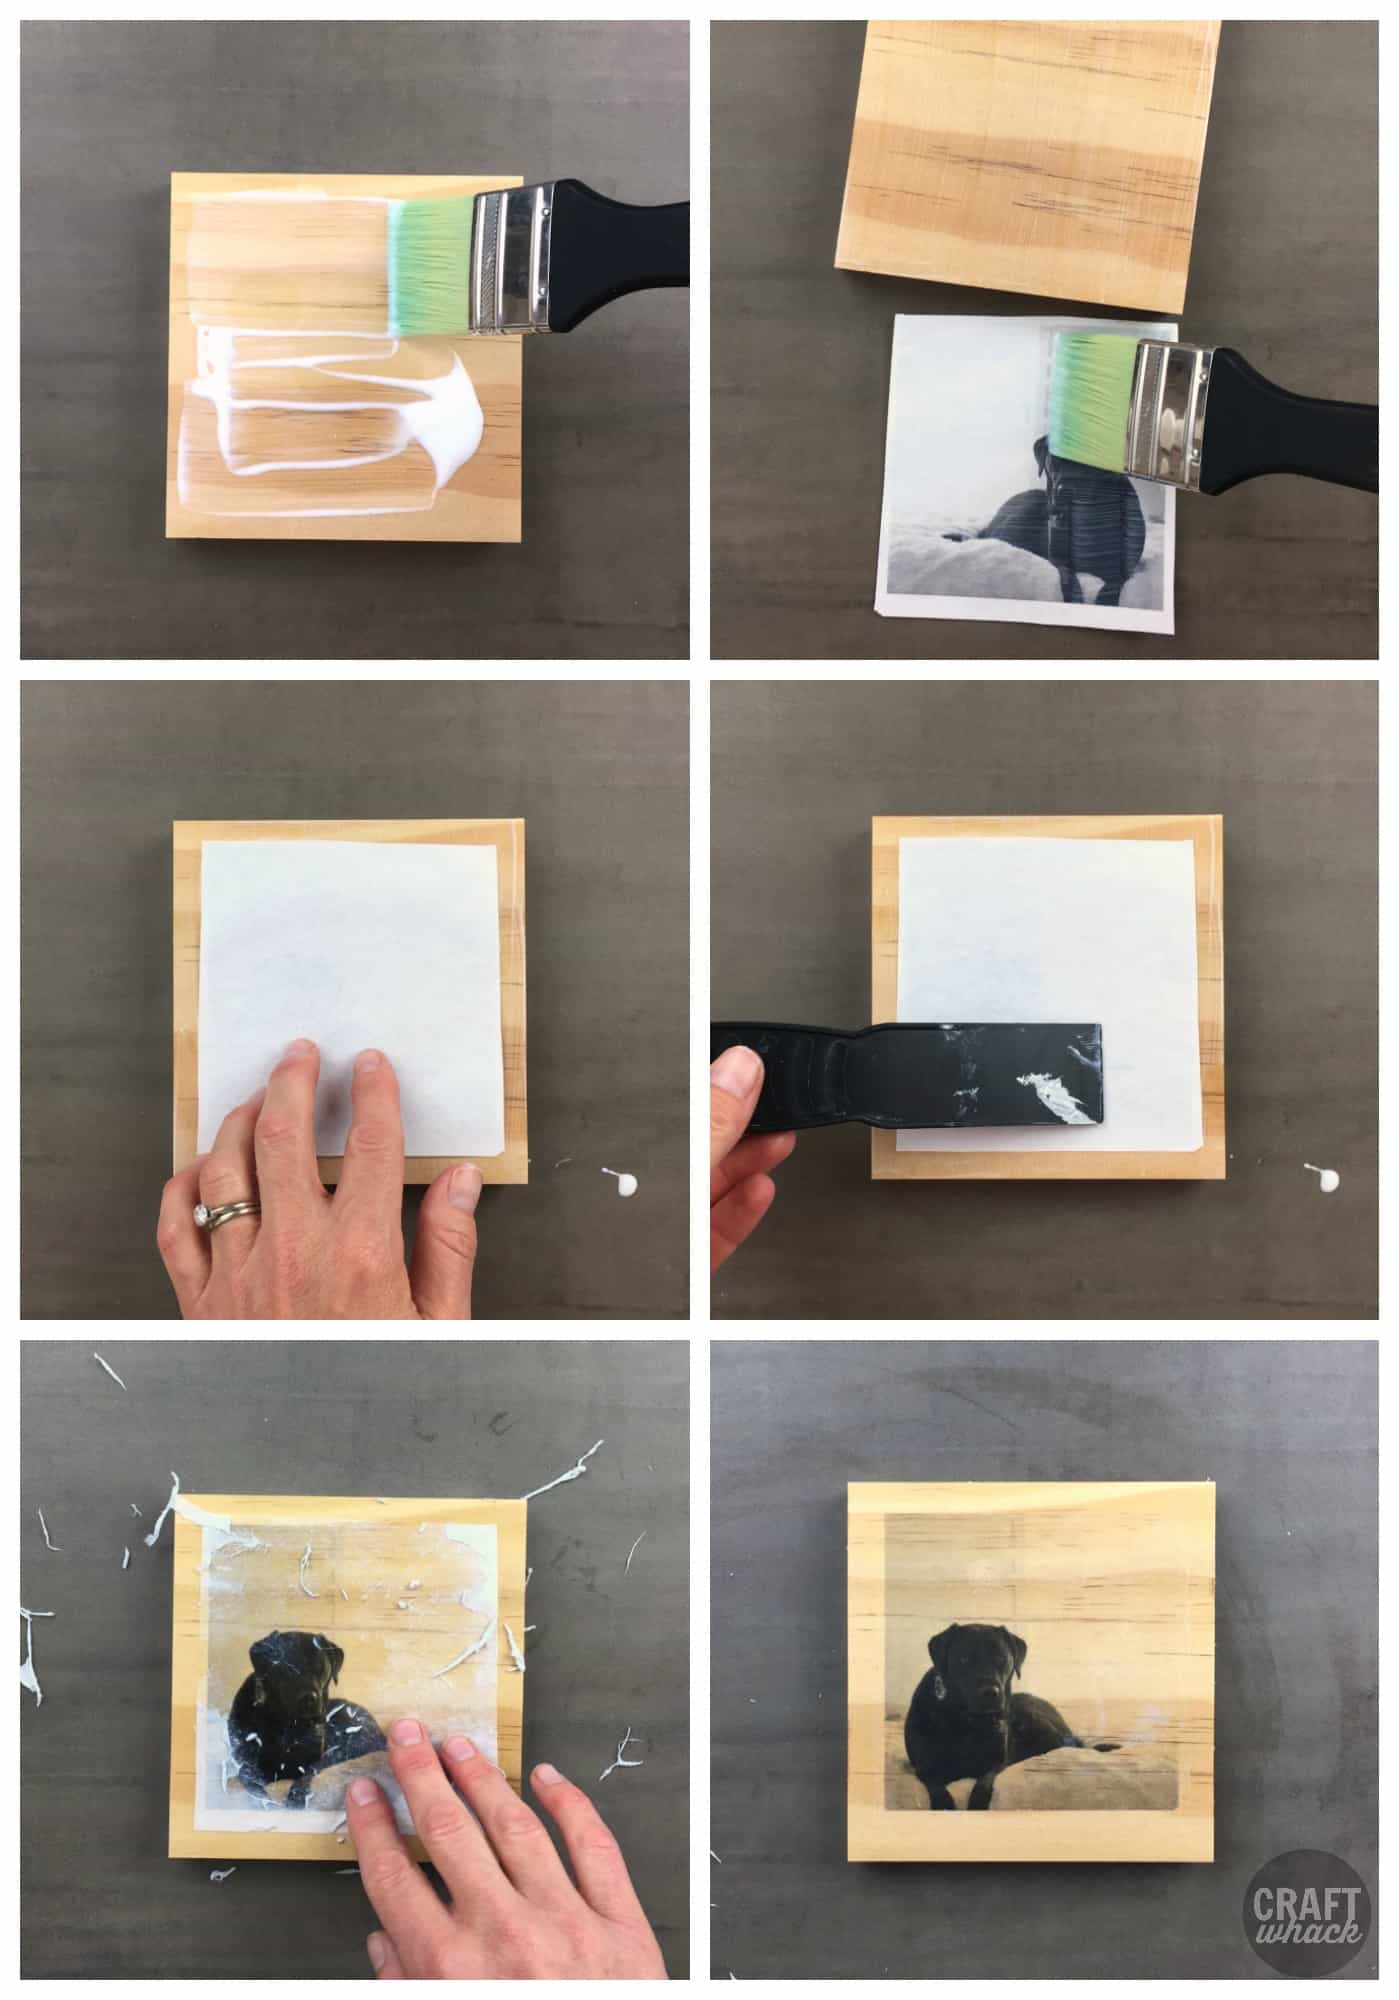
To get the all-time print using Mod Podge or gel medium, castor a layer of the medium onto your entire wood surface, every bit evenly equally possible. This should be thick plenty to not leave any areas of the wood bare, but don't but glop a thick layer on.
Note: I've only done this procedure using gel medium, but I know Modern Podge can work the same style. I have read to paint a layer of Mod Podge onto the surface of your paradigm as well as the surface of your forest before pressing them together, so yous may want to try this.
Place the impress face down onto the wood, press it out with the scraper or credit carte du jour, and let information technology dry overnight. Don't press downward too hard or the gel will ooze out all over the identify; I normally just employ my fingers to smooth it onto the top of the layer of gel.
Wet the back with water and rub the newspaper off with your fingers, an eraser, or a combination of the 2. I usually offset by putting h2o on the paper with my fingers, rub it in a flake, use the eraser for the bulk of the removal, and so use my fingers to remove the very final bits of paper pulp.
You can now become back over the image with another layer of Mod Podge or medium, or you can go in with acrylic paint or pigment-tinted medium first. Ooh! Arty!
I did an experiment with 4 different types of gel medium to come across which worked the best, and the results were shocking! Not really, but there is a articulate winner.
Yous May Besides Similar: Best Sublimation Printer
The 4 gel mediums I used were:
- Golden Soft Gel Gloss
- Golden Soft Gel Matte
- Liquitex Matte Gel
- Liquitex Matte Medium
My favorite was the fluid matte Liquitex (4). It gave the richest impress, the paper came off the easiest, it's a matte finish, and the ink didn't scratch when I was removing the newspaper.
Y'all can see the two peak prints scratched away quite a bit when I was removing the paper. The lesser left 1 did a niggling bit, but it looks a little milky. The lesser right stayed on there pretty well, and looks more than saturated.
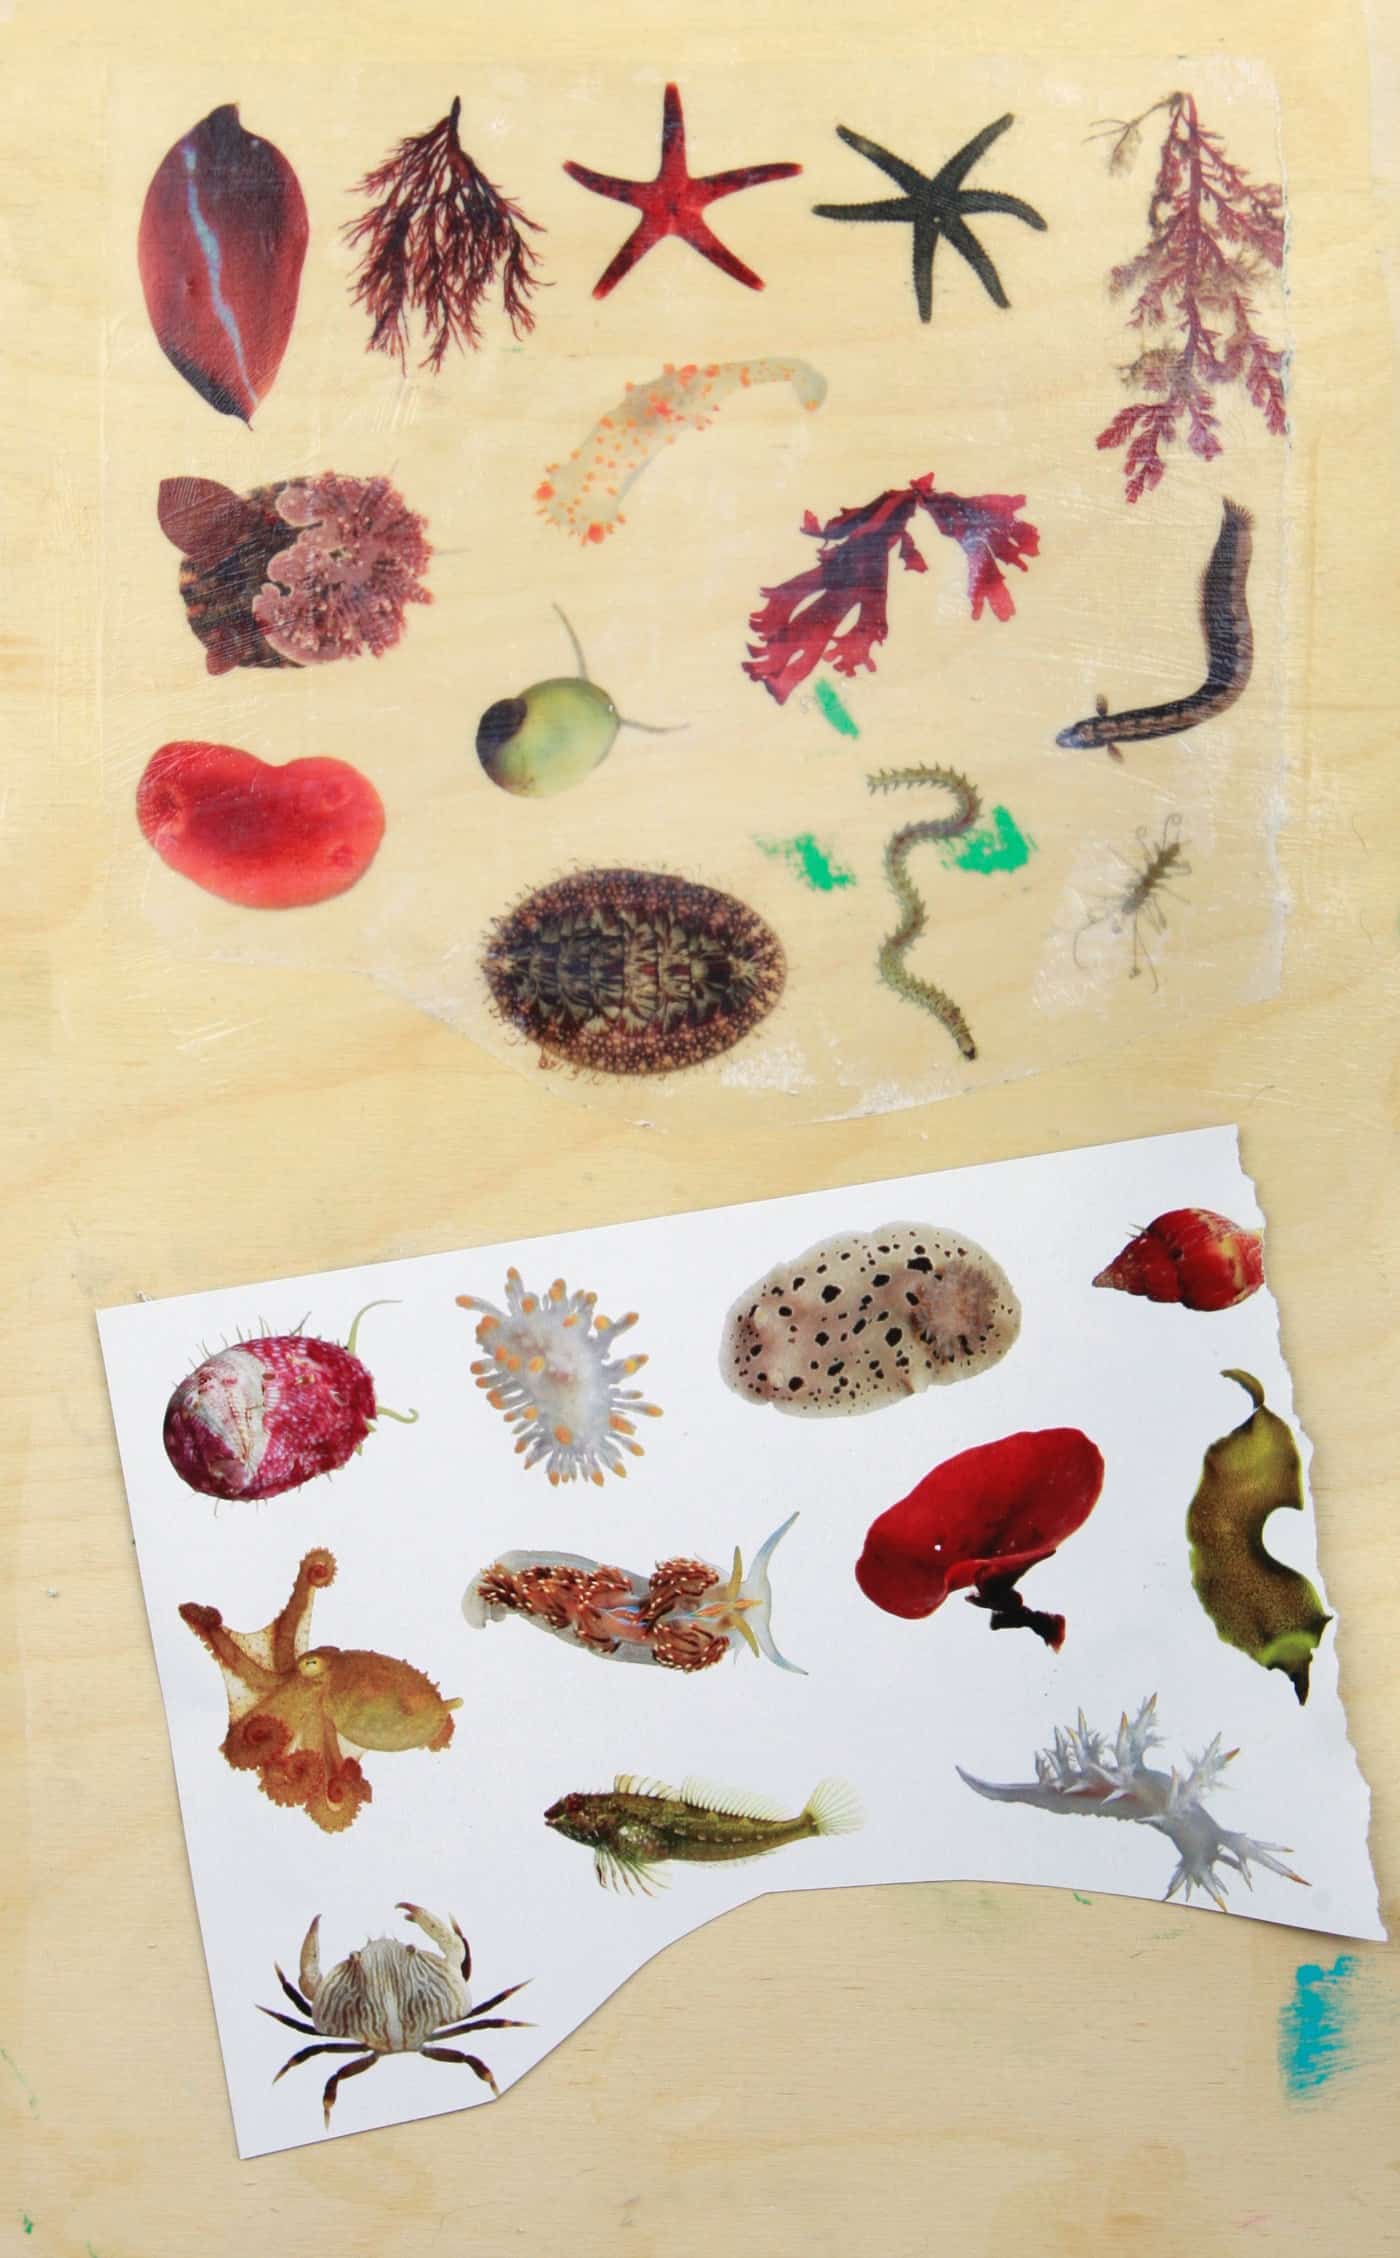
This is a Nat Geo page pressed downwardly onto a layer of gel medium. This works pretty well, too, maybe a petty more stubborn to become all the paper off.
Gel Medium and Mod Podge Transfer Pros and Cons
Pros: Your wood can exist a piffling less perfectly smooth since the prototype is being transferred to the gel sitting on peak of the wood, it's easy to get a cracking print.
Cons: You demand to use laser prints or photocopies. Inkjet prints won't piece of work at all or will smear.
Gel Medium Print Transfer Technique #2
This is probably non what you were looking for if you searched for wood transfer impress techniques, but I need to include it because it's magical.
Supplies
- National Geographic magazine pages (I've heard Vogue works, too. Something almost the ink quality with these mags)
- Acrylic gel medium – I used Gold Soft Gloss Gel
- Brush

Technique
- Brush at least 10 layers of gel medium onto your magazine page, letting information technology dry completely in between layers.
- Remove newspaper using the h2o/eraser/fingers technique.
- Y'all will be left with a thick layer of gel medium with the paradigm transferred on, and yous can use it as is or cut it upwardly and collage with it.
Tip: You can choose images from the magazine other than nightmarish abyssal creatures; I just happen to love that little fella.
Blender Marker Impress Transfer Onto Forest
I had seen somewhere that you can transfer laser prints onto forest with a blender marker, so I grabbed my Prismacolor blender and got to piece of work.
The joke was on me, cause cypher transferred. So I took to Google and learned that you need a blender pen with Xylene in it, and this is the but one I could find that contained that substance.
Supplies
- Laser impress, preferably black and white
- This blender marker, or another with Xylene
- Shine, unfinished forest surface
To transfer an image onto wood using a blender mark, yous must, outset of all, use a laser print, then you lot basically simply color over the face-downward image onto the forest.
It helps to make some practice transfers, because if you're overzealous with the amount of marker you use, the ink tin can smear. I used my plastic scraper to give my images a last little burnishing before I peeled them up, likewise.
The color ones didn't wait as good as the black and white ones, and then I'll stick to B&W from now on with this technique. Can't wait to try this on paper!
Pros and Cons of Blender Marker Transfer
Pros: It'due south fast and piece of cake to do.
Cons: The Xylene in the marking smells hella atrocious and y'all really need to practice this in a well-ventilated area. As well, the ink can pool if you use too much marking.
Acetone Print Transfer Onto Woods
It turns out acetone is good for something besides removing your shmancy gel nail polish. You tin transfer laser prints onto wood with information technology!
Total disclosure: I tried this technique with a small light amplification by stimulated emission of radiation print and some 100% acetone smash polish remover from Target. I tried it twice, but I couldn't get it to work. Not sure what my problem was, but I gave up on it since acetone is freaking STINKY.
I suggest if you try this technique to practise it side by side to an open up window, outdoors, or while wearing a mask so you aren't animate all that stank in.
I'll give this a endeavor some other fourth dimension considering I must figure out what I did wrong.
In the meantime, here'southward a video to sentinel if yous desire to see someone else successfully transferring a print onto wood using acetone.
Citrasolv Impress Transfer Onto Wood
You may even so have some Citrasolv concentrate left over after making National Geographic melted ink pages. You did make some, didn't you?
To transfer your print (it must be a laser impress or copy from a photocopy machine.) onto wood with Citrasolv concentrate:
- Dampen a cotton ball or paper towel with some of the Citrasolv.
- Press information technology onto the back of your print that you have lying on the wood.
- Rub it in gently with your finger (Citrasolv is all-natural)
- Use your card or brayer to rub information technology onto the wood surface, then remove the print.
- The Citrasolv will evaporate and leave you a lovely image transfer on your wood.
- Use Citrasolv concentrate, not Citrasolv cleaner, or your fine art endeavors won't work.
This is a cute project past Ashley Hackshaw where she Citrasolv transferred a print onto a bent wood crown for her daughter.
Citrasolv Transfer Pros and Cons
Pros: Citrasolv is a natural production, you can use any is left in your bottle for more fine art projects or for actually cleaning your home!
Cons: Citrasolv is a little messy, and yous probably need to buy it online, as it's hard to discover in stores.
Print Transfer Onto Painted Wood
You can transfer your images onto painted wood using the wax and freezer newspaper methods, just brand sure the pigment finish is super smooth. Crude finishes but accept the ink onto the raised areas, so you'll end up getting a terrible transfer if you go out brushstrokes or rough areas on your painted surface.
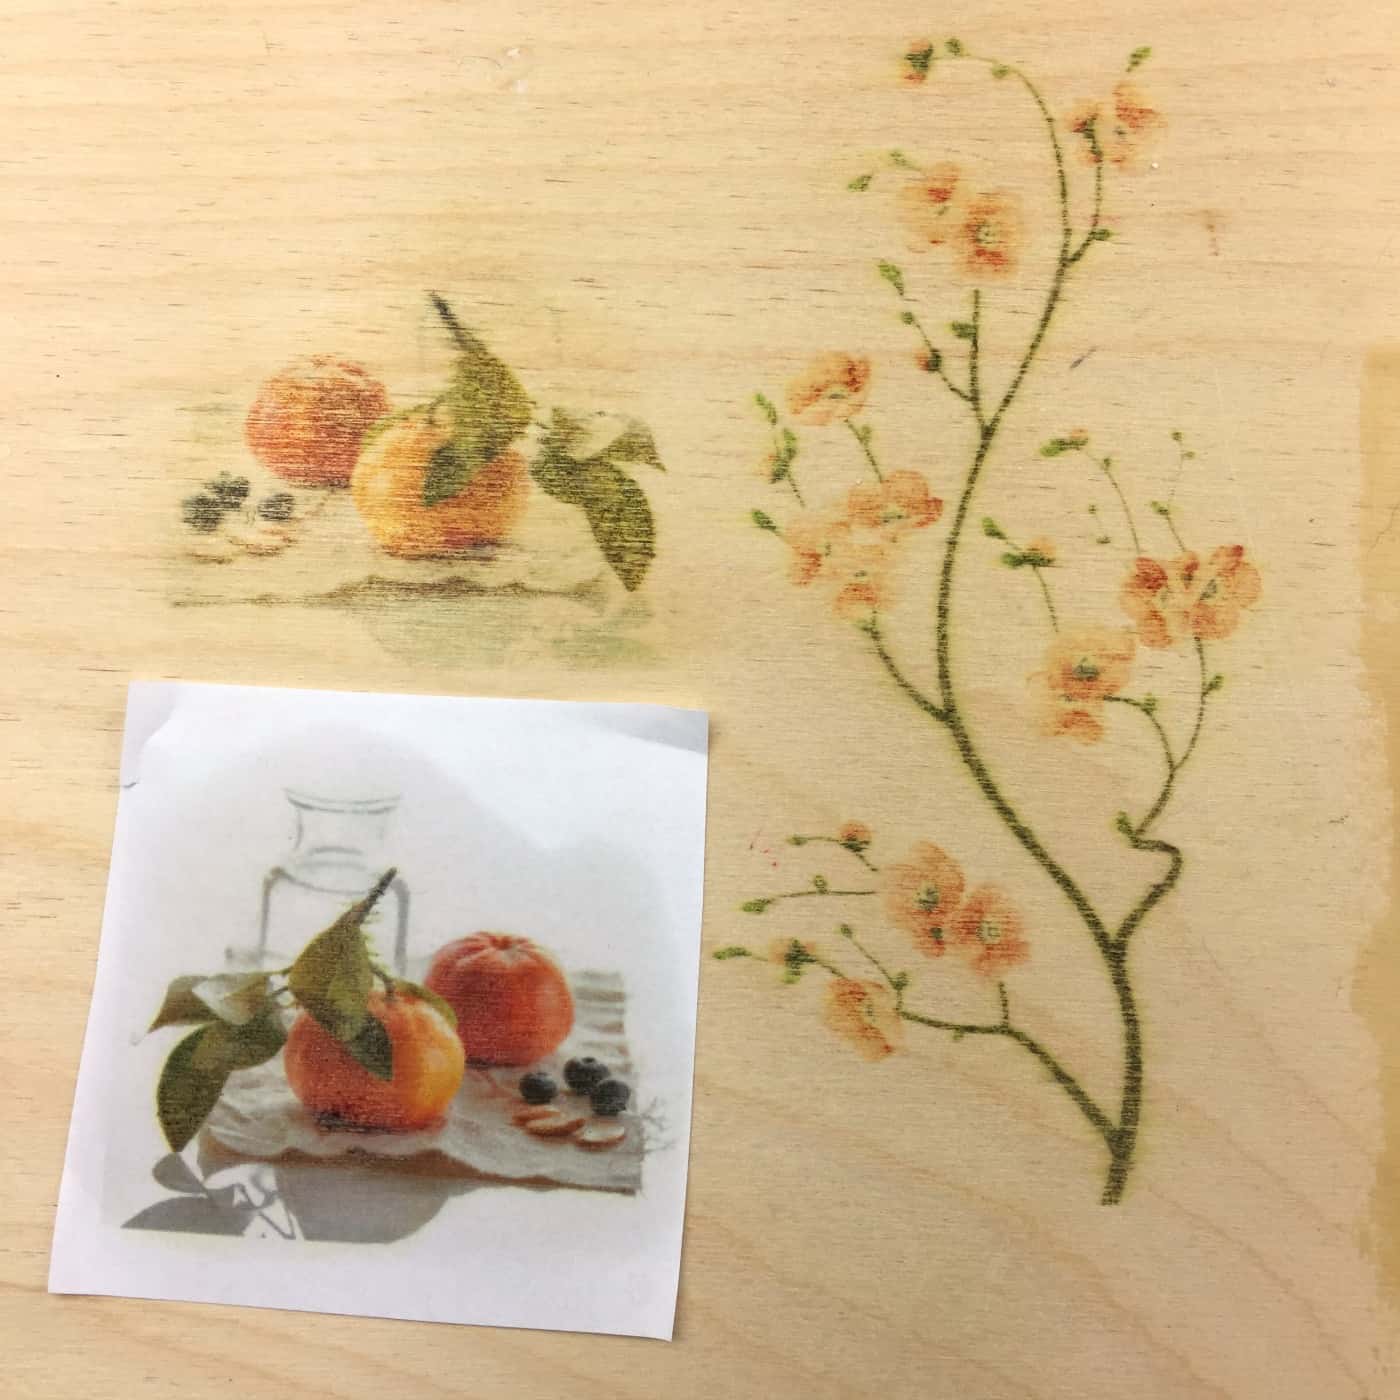
A better transfer method for painted forest is to transfer a laser print right into the wet paint. I used gesso for this cherry print, but y'all can lay downward a layer of acrylic paint and get the same wait.
Effort to make sure your paint surface is shine for the best results. I experimented with dotting 3 different paint colors on the woods, and the transfers came out uneven, despite burnishing them in with a credit bill of fare.
In fact, you could probably go some cooler effects with different images- this transfer looks a little similar I but glued a printout paradigm downward on the gesso.
I merely had an idea: you lot could probably transfer an image onto painted forest by using gel medium over the pigment and transferring the image into the gel.
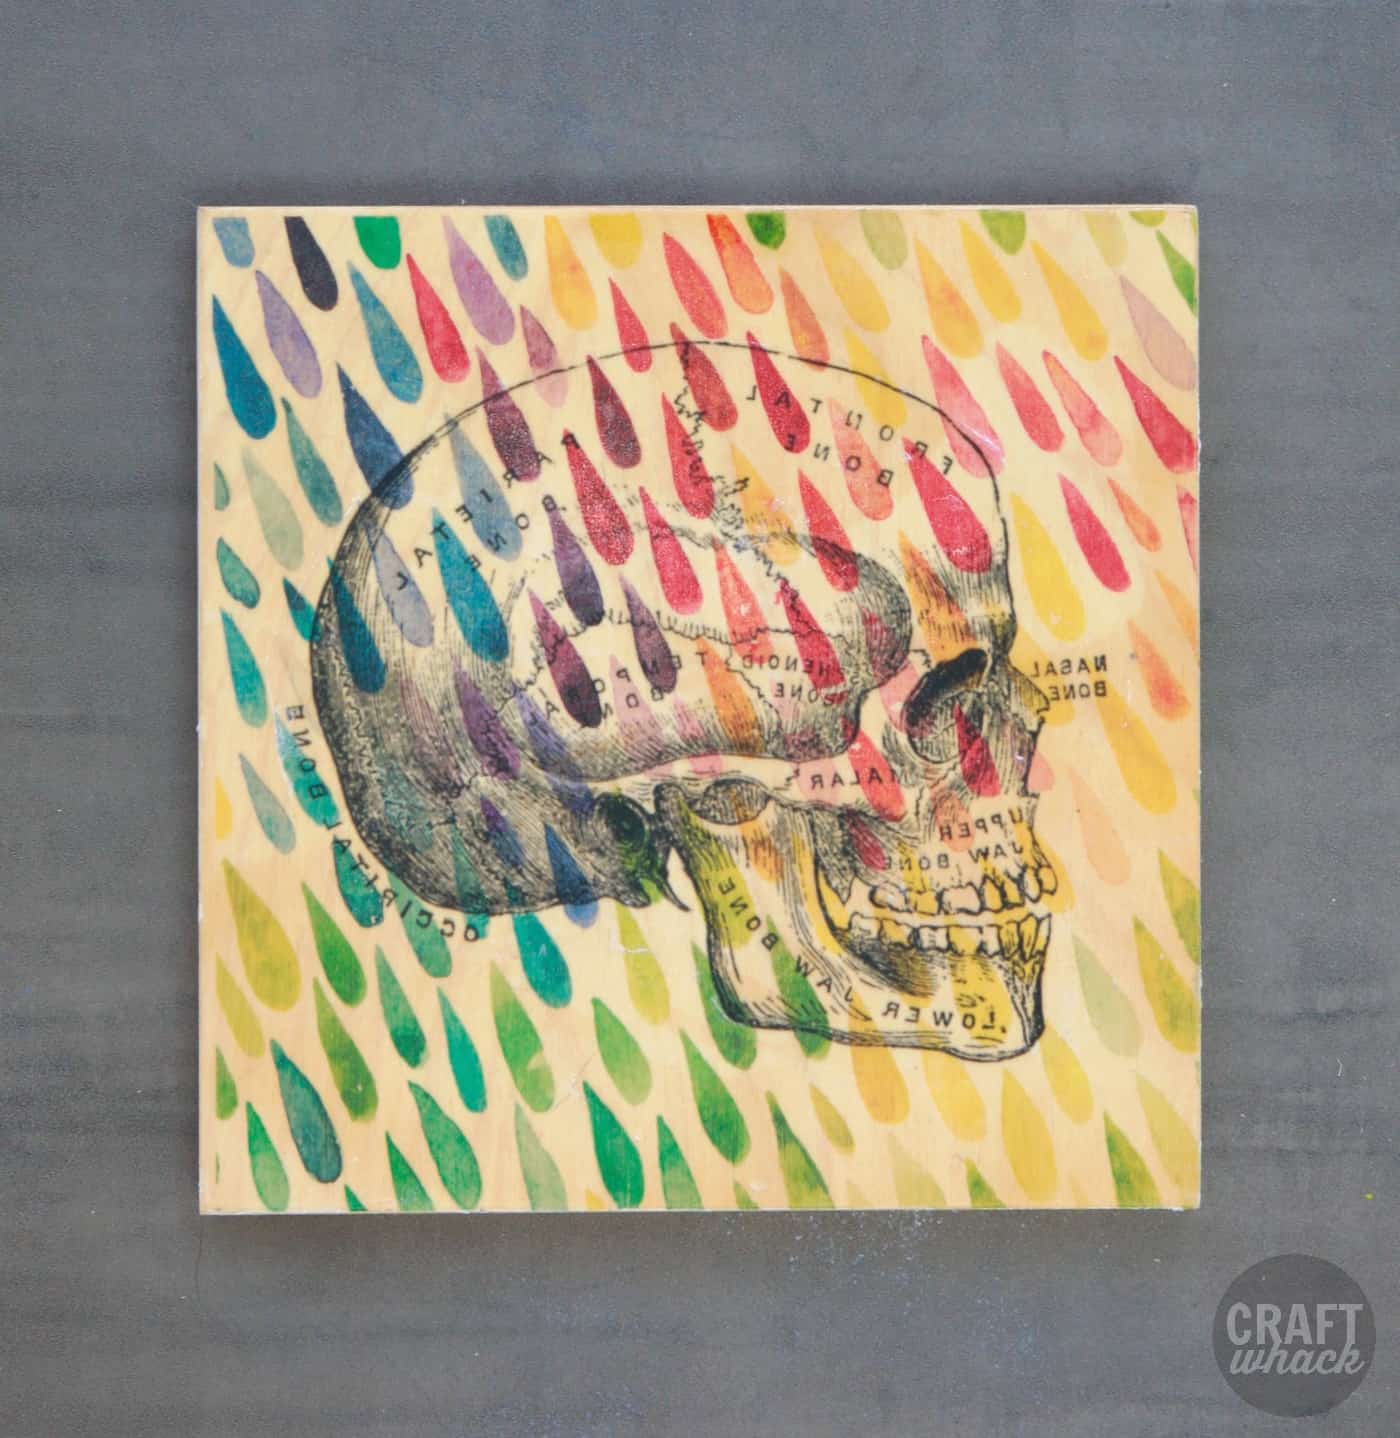
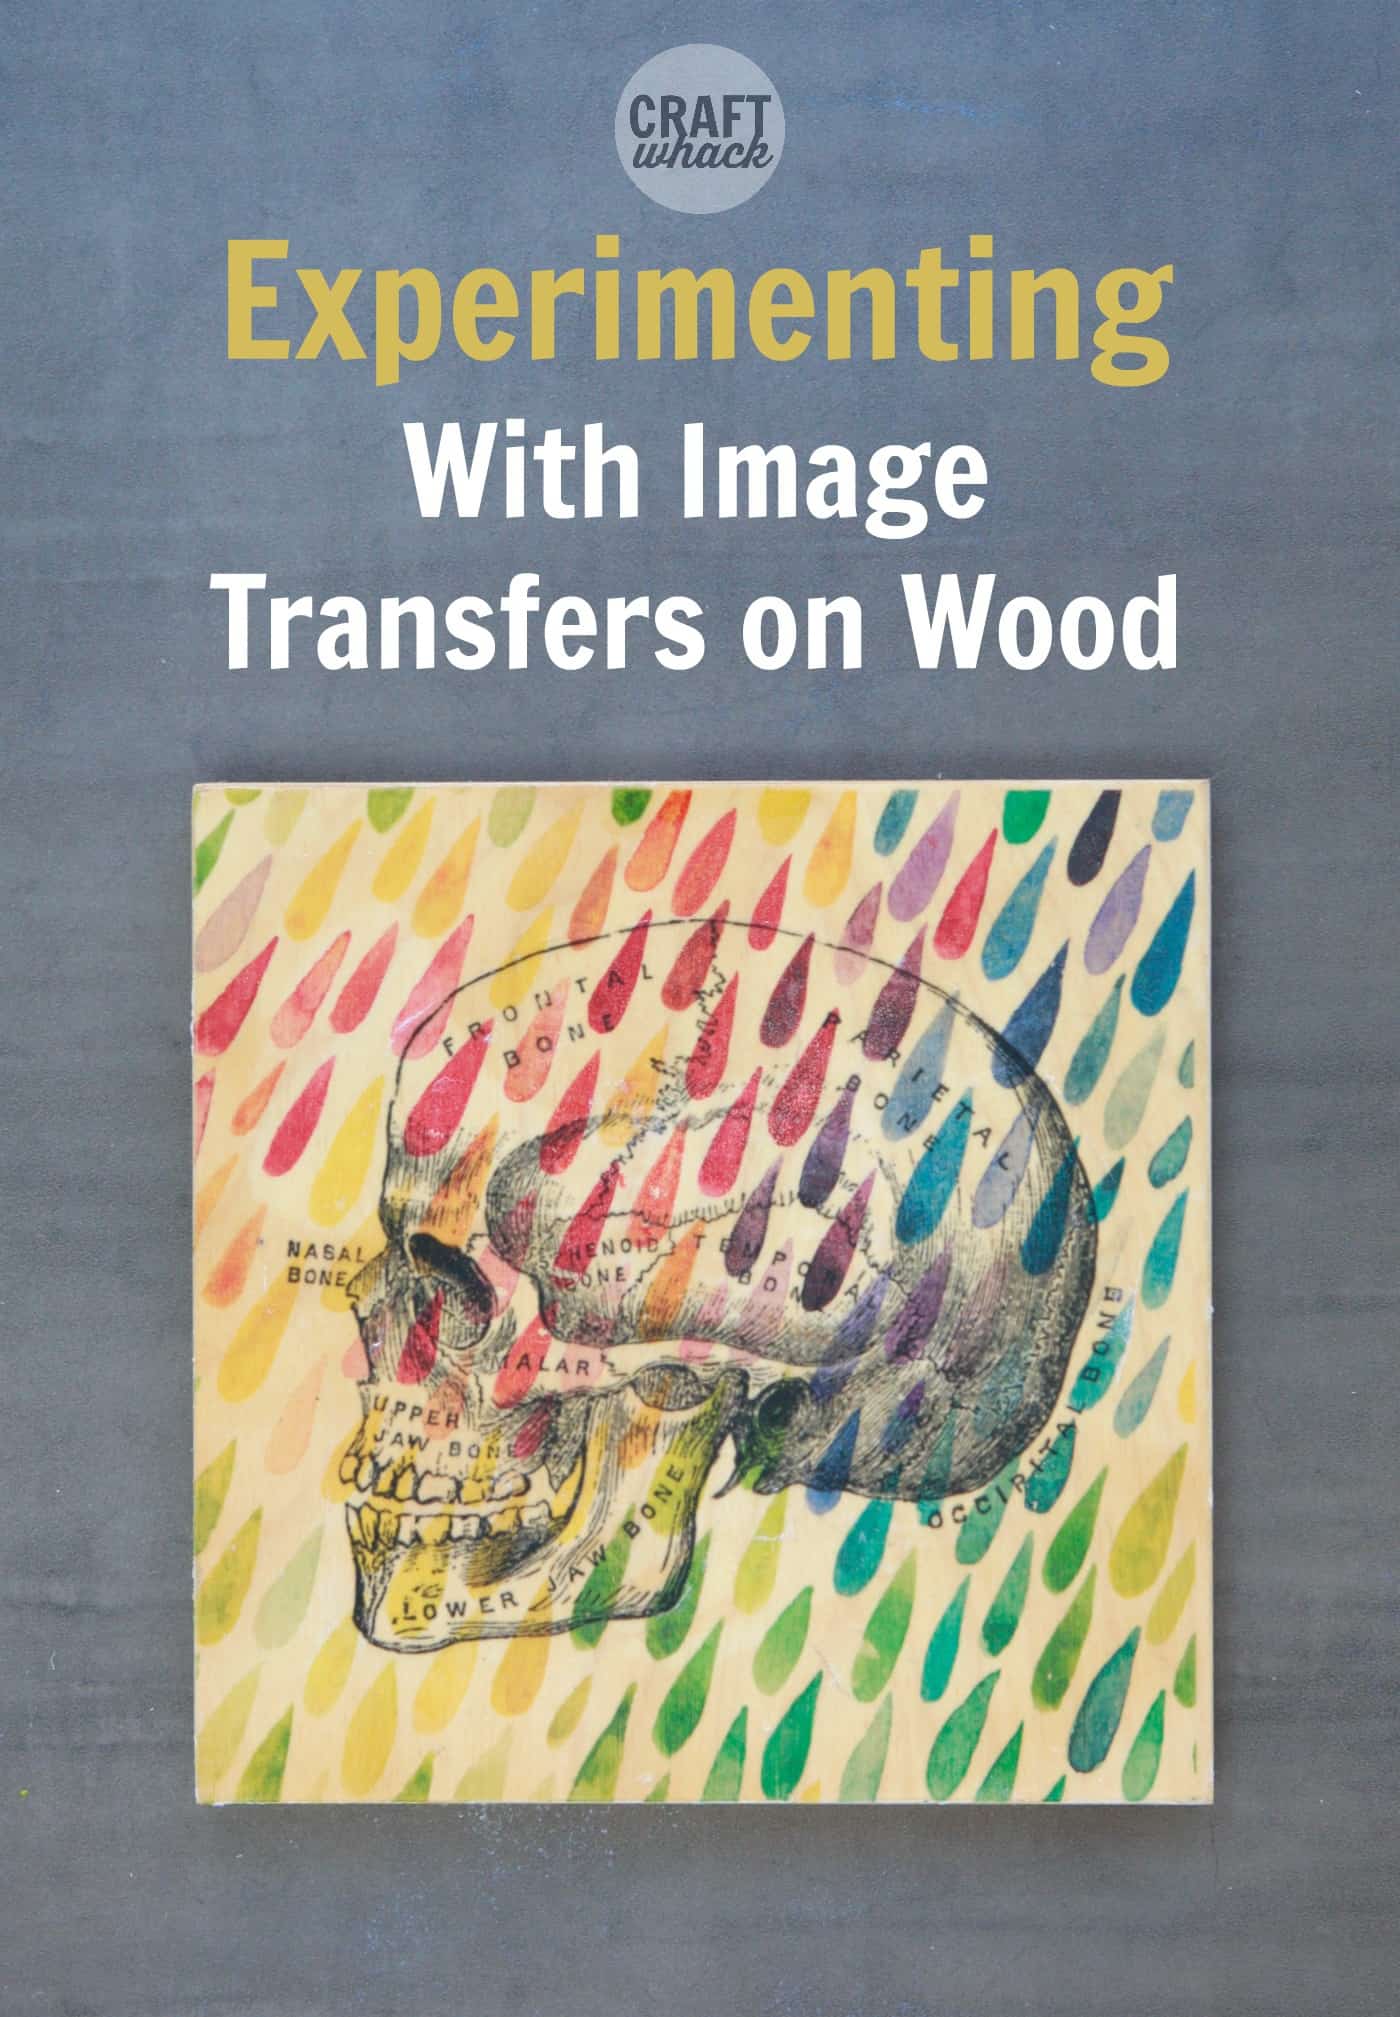
Mixing Impress Transfer Techniques
Here's where I got admittedly basics and combined two wood transfer techniques. My first transfer was using the iron-on paper with this lovely colorful raindrop pattern.
After that had cooled, I used the Liquitex Matte Medium to transfer this skull, and yep, I totally forgot to mirror the paradigm before getting information technology printed, but I used it anyway.
I have some weird urge to cease this blog mail service like my girl used to end her paragraphs in elementary schoolhouse.
In conclusion, I hope you liked my blog post and learned a lot most the many ways to transfer images onto a wood surface.
Seriously, though. If you are inspired to try something you come across here, will you either post an paradigm hither in the comments or on Instagram and tag me @Craftwhack? I want to see. I do.
You may take noticed that many of these techniques are totally kid-friendly, then if you and your kids totally go bitten by the printmaking issues, I besides take a big list of printmaking ideas to exercise with kids over here. Oh yeah, take yous tried packing tape image transfer yet? You'll beloved it!
Pin it:
You May Also Similar: All-time Printer for Oestrus Transfers
fernandezwhicar70.blogspot.com
Source: https://craftwhack.com/image-photo-print-transfer-to-wood-diy/
0 Response to "Print Transfer to Wood: 7 Cool Techniques Explored"
Post a Comment